Sunday, November 27, 2011

Cheesy Cauliflower Pancakes

I know what you are thinking...  Seriously, CAULIFLOWER PANCAKES???  Really, have I gone in the deep end or what?

Well, I was looking through pinterest and saw this recipe and thought, oh, I've GOT to try these!  Then I had a friend tell me she made them and they were absolutely delish!

So I was like yeah, I can TOTALLY make these, no one will know it's cauliflower, the cheese will cover it all up....

I almost fooled them, not that I want too, because like I've said before, I WANT my kids to be EXCITED and to know EXACTLY what they are eating!  I FULLY believe in telling them what they are eating, so one they know, and two, they can continue those healthy eating habits as teenagers and adults...  Or so I can hope, right?  ;)

I guess I'm also trying to "trick" my husband and see if he can taste it!  He ALWAYS finds out what's in them because the kids either tell him or I will after he's taken the first bite or two!  ;)

I did have them ALL on the cookie dough one though!  That was pretty awesome, not gonna lie...  I think I still need to post that recipe too...  Hmm...  I'm behind...

Ok, back to the recipe...  I'm tired..  I prob should've post things when I'm this tired!  ;)

Give them a try, they seriously are good!  REALLY easy to make too!  Gonna make these yummy pancakes again!!  :D
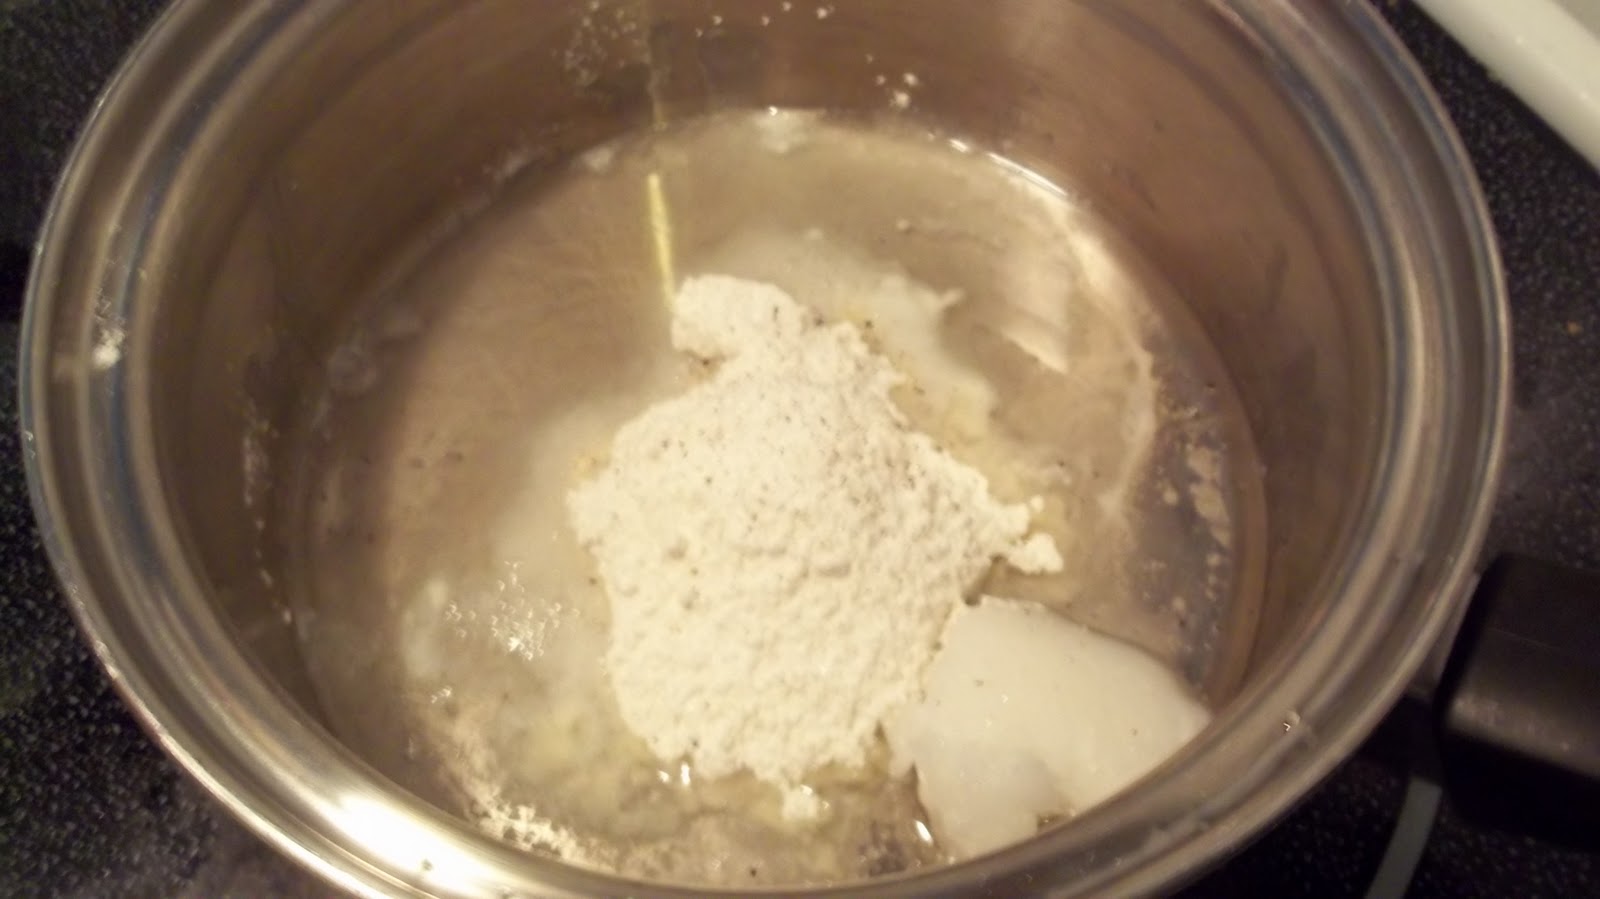
(I thought I had pics of it getting mixed up, but I didn't... or I can't find them, so here are the last few...  you get the idea though, REALLY easy!)


Here they are on the griddle cooking on one side...
Nice and brown, flip them puppies over!  ;)
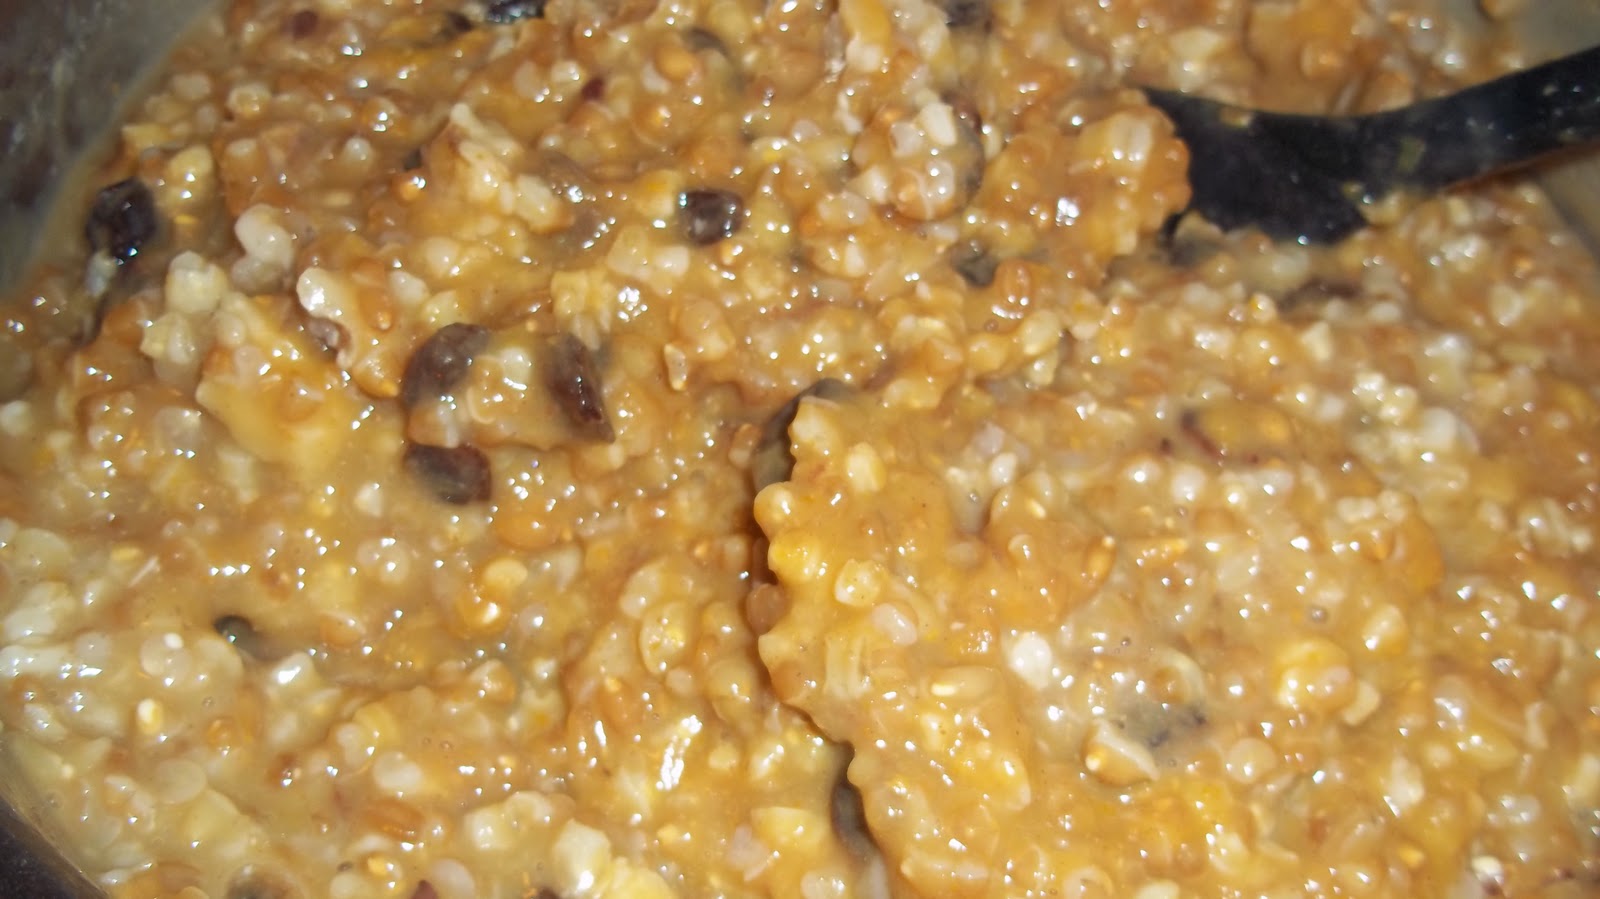
Here they are all done, nice and brown ;)

Hee hee, it looks like 2 eyeballs with the bacon making it look like a frown face!  Should've turned it around a bit!  ;) Anyways...  Here they are done!  My kids gobbled up the pancakes AND the bacon! It was a very easy meal and it was good and healthy!  Can't go wrong can you?
For the bacon, I put it in a Pampered Chef Bar Pan (It has to have sides) and put it in the oven at 375.  It took about 15 minutes, but it was so much easier than frying it!  I put a piece of foil on top of the stone so as soon as it was cool, I just lifted the foil up and right in the trash!  Talk about EASY clean up!  Try it!  ;)


Cheesy Cauliflower Pancakes


1 head cauliflower
2 large eggs
1/2 c cheddar cheese, grated
1/2 c panko
1/2 t cayenne pepper (more of less to taste)
salt
olive oil

Cut cauliflower into florets; cook in boiling water until tender about 10 minutes. Drain. Mash the cauliflower while still warm. Stir cheese, eggs, panko, cayenne & salt to taste.

Coat the bottom of a griddle or skillet with olive oil over medium-high heat. Form the cauliflower mixture into patties about 3 inches across. Cook until golden brown & set, about 3 minutes per side. Keep each batch warm in the oven while you cook the rest.

*I served this with a bit of sour cream on the top.  I know, it sounds weird, but it was actually really good!  I think next time I make this, i will put this in my Vita Mix and really blend it.  ;)

These aren't that bad!  The hubs said I could make them again!  ;)


“And whatever you do, in word or deed, do everything in the name of the Lord Jesus, giving thanks to God the Father through him.” Colossians 3:17 ESV

So what does this mean to you?

To me it means that everything you do, whether you want to do it or not, give THANKS to God!  So when cleaning out that toilet, give Thanks to God that you have hands to clean it, give thanks that you HAVE a toilet to clean....  What about laundry...?  When I do laundry, I usually say, call me after a few hours, becasue I may be stuck in my Mount Everest of laundry...  ;)  It's funny, but I do sometimes find myselg not giving Thanks for my laundry....

I've recently decided to find JOY AND THANKS in EVERYTHING!!!  Yes, everything!  It doesn't matter how bad it is, we've been through some bad things, but I choose to be thankful.  ;)  It may not always be easy, but Satan REALLY hates when bad things come and we are THANKFUL!  it just makes him angry, and I love making him angry...  At those times, he will fight harder to get us and discourage us, but in those times, you call out and be THANKFUL to God.  God will see you through and help you, all you need to do is call out and ask Him to help!  He will help you!

Saturday, November 26, 2011

Crock Pot Mac and Cheese

I don't know about you, but I LOVE using my crock pot!  I usually have a meal from that on Thursday.  We have SPEAR every Thursday from 2-3, so by the time we get home, I am not in the mood to get supper around and cook.  There are times I forgot to get it going, and we do something easy, but most times I actually remember to get something in there!  ;)

This is so easy, most recipes that are crock pot recipes are easy, if for some reason they aren't, I usually don't do them!  ;)

This will seem like a LOT of liquid, but the noodles really do absorb it all.

You could use this as a side dish, or as a main meal.  I actually did put some wings on the grill with this.

Pour milk in crock pot
Then a layer of noodles
Then a layer of shredded cheese
More milk, noddles and top off with cheese

Here it is...  It looks kinda like scrambled eggs, I probably will only use 1-2 eggs instead of 4 next time.  But it was still really good!


Again, it doesn't look like mac and cheese, but it's really good!
Give a try, super easy to put together and it tastes GREAT!!  It's alot healthy than those boxes of mac and cheese.  I haven't bought a box of mac and cheese for soooo long!  It really is way easier than you think to make, even if you aren't using a crock pot!  ;)


Crock Pot Mac and Cheese

1 pound noodles (whatever kinda you want, I used elbow- Infact I may have use more than 1 pound, I had a 2 pound box and used all but 1/4 of it... we eat alot... ;))
7 cups of milk
1 egg
4 cups cheese (I used sharp cheddar, cheddar and pepper jack)
Salt, pepper, and garlic salt to taste
1 tsp dried mustard

Grease crock pot VERY well! Scrambled the egg in the milk,  and add seasoning, then place a bit of milk in bottom of crock pot. Then add some noodles, then some cheese...  Repeat layer, and then put lid on.  Cook on low for 2-5 hours...  It took mine about 4 hours on low.

I stirred it after 2 hours of cooking, then again right before serving.  I did taste it to see how the seasoning was and if I needed to add anymore, but ti was fine...

Super easy! ;)

Friday, November 25, 2011

Banana Chocolate "Ice Cream"

I don't know about you, but after a major holiday, I want to eat healthy, but yet, I am still craving something sweet...  Usually in the form of ice cream...  ;)

Well, this ice cream is HEALTHY, but do NOT let anyone know, ok?

This seriously has 4 ingredients, and they are all ingredients that you can say, and you probably have them all on hand too.  ;)

This is soooo easy!  I made it in my Vita Mix, but I am pretty sure a high powered blender or food processor would work just as well.

I always buy a LOT of bananas, usually more than we need, so once they start getting a bit brown, I peel them, cut them in half and put in a baggie and throw them in the freezer.  Easy to grab for when I make smoothies, or banana milkshakes (also healthy...  ;)).  But now, I can add this to my list of things to do with my frozen bananas!

I don't have an actual real recipe...  I've seen some online, but I don't follow recipes...  That can get me in trouble sometimes, but not this time!  ;)  You really can't go wrong with this!  You can also omit the peanut butter, for those of you who are allergic or don't like, but I highly suggest you try it with peanut butter if you can!  ;)

So here's what I did:

Banana Peanut Butter Chocolate Ice Cream


3 frozen banana's
1/4-1/2 cup milk
coca powder (totally up to you how much...  ;))
peanut butter (again, totally up to you how much ;))

Blend all ingredients in Vita Mix or high powered blender or food processor til nice and creamy, like the consistency of soft serve ice cream.

Eat right away and enjoy!  :)

See, really easy, and healthy!
You could use rice or almond milk..  You can use sunflower butter instead of peanut butter... 
I love this because I can give it to my kids and tell them they are eating ice cream...  Healthy and good, and hits the spot!  ;)


My lil man digging in!  ;)

Look how good this looks!!  It's sooooooo good!!!!!!!!!!  :)  It's got the consistency of "real" ice cream too!  ;)
 Haha, I love how his mouth is WIDE open!!  ;)

They sure do LOVE ice cream!
Seriously enjoying EVERY bite!!!  ;)

Mini Frittatas

What a yummy and easy breakfast! And a GREAT way for your kids to get involved in helping out! :)

I'm also thinking this would be a good breakfast after having turkey all day yesterday!  ;)

I wasn't sure if these would turn out in my stone or majorly stick...  But I sprayed it really good, so was hoping it wouldn't stick, and they didn't!  ;)

Again, this is something really easy that either your kids (if old enough) could just about do by themselves, or you can have them help you.  I think having your kids help you in the kitchen is a great way to not only get them involved, but usually kids like to eat what they have made or helped make..  It also helps teach them what they are eating and how healthy it is, etc...  If they are younger, you can talk about where the eggs come from, the milk, etc...

My kids LOVE breaking eggs...  I don't always let them, or like them too.. but that's another story.. ;)

Here are the eggs scrambled with a bit of milk added...

Pour it into your muffin pan...

Add whatever goodies you want to it.  You can add ham, or mushrooms, just make sure whatever you add is chopped small.  I only added about a tablespoon of green peppers and onions to each muffin cup.  Anymore and it would be to full.

Then I put a small amount of cheese on top.

Here they are ready to go in the oven! ;)

And they are done!  Yummo!!!!

I served 2 eggs per kid and a nice big breakfast cookie!  Talk about a packed and ready to tackle the world breakfast!  ;)


Here's a plate for my hubs!  ;)


Mini Frittatas

6 eggs
1/4-1/2 cup milk
seasoning (only if you want)
anything else you would want in your frittatas:
cheese, green pepper, onions, sausage, mushrooms, etc...

Scramble eggs in a bowl and pour in milk.  Grease a muffin pan very well.  Pour in your egg mixture in muffin pan.  I filled up 12 muffin cups with the egg mixture, then I put a tablespoon of green pepper/onion in each cup.  Then put a pinch of shredded cheese on top.  Place in 350 degree oven and bake for 20-30 minutes.  A knife inserted in middle will come out clean if it's done.

Serve with breakfast cookies, or toast, or whatever else you want to serve it with!  ;)
My kids GOBBLED these down, and LOVED that fact that I gave them a COOKIE with their eggs! (these cookies had NO sugar in them...)

Thursday, November 24, 2011

Sliced Baked Potatoes

I think I am going to make baked potatoes like this from now on!

Ok, not gonna lie, not the most fun thing to do, cut a whole bunch of slices in a raw potato, but the flavor was SO worth it! The oil just drizzled right in the potato and the salt and garlic salt just made it that much more yummy!!!

The kids LOVED this as well, it was really easy for the to just cut after we got some toppings on top! ;)


Cut slices in your potatoes, drizzle with oil and then sprinkle with sea salt and garlic salt (see, I accidentally sliced one all the way through, oops!  ;))

Here it is all done..  You can kinda see the slits in the potatoes after it cooks...
Here it is with our toppings!  Yummy!!!


Sliced Baked Potatoes
As many potatoes as you need...
olive oil
sea salt
garlic salt

Wash the potatoes, slice them as thinly as you can with out cutting all the way through. Place on a foil covered cookie sheet/pan.
Drizzle olive oil all over the top of the potato and then season with sea salt and garlic salt.
Place in 425 degree oven.
Bake for 40 minutes to an hour until desired tenderness.

You can add whatever toppings you want to this! I wanted to do bacon as well, but I was to tired to fry some up, but when I make these again, I will be adding bacon to it!

This would be great for a baked potato nite! :)

Wednesday, November 23, 2011

Turkey Wrap with Cucumber

REALLY easy lunch!!! I had some leftover cream cheese spread from Panera. I had asked for one little container of cream cheese, and they gave me this big huge whooping container. I said, I didn't order this, but they said, take it... I'm not sure if they had pity on me when they saw my 4 kiddos or not...? Or if they were really just being nice! ;) I just smiled and said thank you, and walked away with my big huge whooping container of cream cheese, 5 bagels and 4 kids! ;)

Now that I am getting back to the recipe... I know, you really wanted that little story! ;) I used my left over cream cheese, then cut up half a cucumber, stir that up, spread it on a tortilla, (you can use any kind you want, I used white, it's what I had... ;)), then slap a piece of turkey or ham or whatever floats your boat, then roll it up, cut it in half, serve with veggie or fruit and EAT!

I'm thinking pretty much any type of meat you want would work for this. I don't normally buy or have lunch meat on hand, but the kids love Lunchables...

I don't buy lunchables... A few reasons... There is NOT enough food in one to satisfy my kids... I would seriously prob have to get 3 of them to make them even somewhat satisfied... Two: I am not a big fan of processed lunch meat, but I do feed it to my kids, not all the time, but on occasion... Three: they are to stinkin' expensive!

So, we buy lunch meat, and I always have crackers and cheese on hand... so we make our own, and then I had all kinds of other healthy stuff to it, fruit, veggies, you name it...

So, that's why I have meat, In a nut shell, that's why I have lunch meat... ;)

This isn't the most healthiest meals, but there is some veggies in it, so take it for what it's worth! If you are looking for something different and fast and easy, then give this a try! :)


Cream cheese and cut up cucumber

Spread it out on a tortilla

Place a piece of turkey on top

Roll it up, cut in half and enjoy!


Turkey Wrap with Cucumber

4-6 oz cream cheese
half a cucumber, diced, and peeled
4-6 tortillas (I made 8 of these, so it just depends on much cream cheese filling you put in them and how much cream cheese you use...  ;))
turkey slices (one per tortilla)

Make sure the cream cheese is softened, then peel and dice the cucumbers and stir it in the cream cheese. Spread some cream cheese on a tortilla, then place a piece of meat on top.  Roll it up and cut in half and enjoy!
See, easy peasy!  Doesn't get much easier than that!  :)

Try it and let me know how you like it! :D

Friday, November 11, 2011

Powered Laundry Soap

Ok, I LOVE this one much better than the other soap that I posted!  ;)  It is just as easy as the liquid kind, but what I like about this, it doesn't clump!  I've been through 2 of the liquid recipes and decided I'm not 100% sold on it.  Yes, it got the clothes and towels clean, the clumping just didn't fly with me!

So I found something on pinterest, but I didn't follow it.  I kinda made it up!  I will make this again and will add a bit more lavender essential oils.  You could add any other oils that you would like.  Or you don't have to add any, but it just gives it that SUPER FAINT smell of clean lavender clothes!  ;)

I don't remember how much everything cost, but I got my baking soda from Aldi's, which only cost me 49 cents per box...  Yes, you read that right 49 cents.  I LOVE Aldis..  but that's another post...  ;)

I got the Borax from Target...  still not 100% sure what to believe with Borax...  And then the castile soap I got from Safeway.  A package of 3 bars was about 4 bucks I think?  So 4 plus 2 plus how much ever the borax was, I think it was 2.99?  It made me a gallon bucket FULL of soap... I am using about 3-4 heaping teaspoons of soap per load.  I haven't done towels, so I will probably have to do the 4 teaspoons for those.  I just washed my dish cloths, and they don't smell, so the soap is a winner in my book!  :)  Just want to see how it works with towels!

The kids can help grate the soap in the bucket, you mix it with your hands, they can also help break up the clumps of baking soda!  Really easy!

So lets say 8 bucks gets me a full gallon of soap...  I started it on the 10th of November, let's see how long it lasts me in this house!  We do alot of laundry around here!!!!  :D


Powered Laundry Soap


1 box Borax (76 oz)
3 bars of castile soap, grates
4 boxes of baking soda (16oz)
a few drops of essential oil IF you want, no need too.... (I used lavender because that's what I had on hand, just to see how it would work and smell)

Mix all ingredients in a bucket, stir with your hands to combine.  Place in a gallon container with a lid.  use anywhere from 2-4 heaping teaspoons of soap per load.

Also, I have a HE front load washer, I've used it 5 times already and no sign of extra soap suds escaping or messing up the washer!
The reason you need to use "special" HE soap in these washers is they don't need a super sudsy soap to wash the clothes.  Since castile soap is made from coconut oil, you don't get that extra bubbles like you would with most other soaps...  So, so far, it's working GREAT!

Also, remember to use white vinegar for your softener!  CHEAP and it works GREAT!  No, your clothes will NOT smell like vinegar, trust me!  I've been using it for about 4 months now!  :)

 Here it is with the grated soap and borax....
 Here it is all mixed up!  ;)  I should've added a few more drops of lavender oil, I think I added about 7, but may try to add a bit more next time...  ;)
Here's my gallon bucket, packed full!  It seriously was to the top!  I couldn't get my spoon in the container!!! 

I'll re-post the date when I'm finished with the soap, will see how long a gallon bucket of powered soap lasts in this house!  :)

*Since writing this on the 10th of November, I still LOVE it!!  It works GREAT!!!!!!  i don't smell the lavender smell, so I may still go in and add a bit more, but then again, I may not!  I use 3 heaping teaspoons (a plastic spoon) for towels and sheets and usually jeans, but only 2 heaping teaspoons for whites and darks.  Still no probs with the front load, it still is working great!  You may need to adjust the teaspoons to what works for your clothes, but loving this stuff so far!  It looks like it's going to last me longer than a month too!  :D
Try it and let me know how you like it!!!  ;)

Sunday, November 6, 2011

Pumpkin Oatmeal

This is really good!  I know, I think I start alot of my posts out like that, but it's the truth!  :)

It's PUMPKIN season, so of course it's good!  :)  I actually had some canned pumpkin from last year, so I used that.  Yes, it was still good!  ;)

I added pumpkin, raisins, walnuts and a pumpkin pie spice to this oatmeal!  My kids ALLLLL asked for seconds!!!!  :)  I also used steel cut oats, so it took a bit longer to cook, but you can EASILY use regular oats, or quick cooking oats...  ;)

Pumpkin Oatmeal

1 cup steel cut oats

2-3 cups water

Pumpkin puree

pumpkin pie spice

raisins

walnuts


Cut steel cut oats until they are done.  Mine took almost 25 minutes....  I then took a whole can of pumpkin, (the small can, not the HUGE can!  ;)) the pumpkin pie spice, raisins and walnuts, stir until combined and warm.  Serve nice and hot!  If you want it to be a bit sweeter, add some honey or pure maple syrup.  You could add brown sugar if you want.  But I try to serve it to my kids without the sweetener.  I also ate this with out any sweetener, and it was good!  The pumpkin wasn't too overwhelming either.  So if you aren't a HUGE pumpkin fan, you would like this!  :)


Bring your oats to a boil and then back down to a simmer, cover with a lid and simmer until done.
Here it is ready to add everything!  :)
Raisins, pumpkin puree, walnuts, and pumpkin pie spice
All done and ready to eat...  This may not be the best picture, but it REALLY is good!  :)

Saturday, November 5, 2011

Creamed Eggs

I got this recipe from one of my Amish Cookbooks...  When I first wrote it down on my calendar to make, I thought it would be really good, but then I was looking at the ingredients and how to make it, then I thought, oh no, the kids aren't going to eat this...  BUT, they DID!!!!  They all ate 2 slices of bread with the creamed eggs on top!
It was really good!  It was a nice filling breakfast on a cold morning! 


Creamed Eggs

6 hard boiled eggs
6 tablespoons butter (I used coconut oil)
6 tablespoons flour
1 1/2 teaspoons salt
Dash of pepper
3 cups milk
Bread, toasted

Melt the butter in a heavy saucepan, add the flour, salt and pepper.  Stir until well blended. Slowly add the milk stirring constantly.  Cook until smooth. Chop the hard-boiled eggs and stir them into the sauce.  Serve on hot toast.

(this was taken from The Amish Cook by Elizabeth Coblentz)


 Flour in the coconut oil
 Stir until smooth
 Add milk
 Add chopped eggs
 Dump all the eggs in
 Stir it all up
 Yah, you like my toast don't ya?  I got this toaster YEARS ago from my parents, one side has Winnie the Pooh and the other Tigger!  ;)  anyways, get your toast ready....
 Put a nice big spoonful or two of the creamed eggs on top of the toast
Cut up and enjoy!!!  :)

Friday, November 4, 2011

Apple Nachos

OH MY!!  YUMMY!!!!!!!!!!  :oP  We GOBBLED these up RIGHT away!  The cool thing about this, you can make these a few different ways!  I made them a bit healthy tonite, just because we had fried chicken in the Chinese Lemon Chicken....

Yes, peanut butter isn't 100% healthy, but it is a bit better than using caramel sauce!  ;)

I'm not gonna write out the recipe, because it will vary from person to person..  But here's what you will need,
Sharp Knife
Apples, how many ever you want/need, I used 3 tonite.... (I had 3 different kinds of apples too, one small, one medium and one large!  ;))
Peanut butter, warmed in a bowl (for those of you allergic to peanuts, you could use sunflower butter)
Mini chocolate chips

Cut your apple in slices, warm the peanut butter and drizzle how much you want all over the apples, then sprinkle the mini chocolate chips on top!  ;)

Then EAT and enjoy!!!  :)

You could also use chocolate sauce, and then sprinkle peanut butter chips on top....

Or:
Drizzle caramel sauce all over, sprinkle mini chocolate chips on top, and then make some whipping cream and put little dollops all over!  ;)

Really, the possibilities are endless for these nachos!

Seriously, try them and let me know what combo you use!  I'm curious if there are any other combos!

Oh one more I forgot..  Hubby said to drizzle peanut butter, then sprinkle raisins and mini chocolate chips all over....  ;)


Quinoa Porridge

I honestly wasn't too sure about this.  I haven't been rinsing my quinoa like all the recipes say you are supposed too.  But this time I did, and I'm not gonna lie, I really did notice a difference!  So from here on out, I'll be taking the time to rinse those little tiny things!  ;)

I just took a coffee filter and placed it inside a strainer, then poured in how much qunioa I wanted in the strainer.   Then put it under the faucet to rinse it.  Pretty easy!  ;)

The kids really liked this!  My lil man didn't gobble it down like his older sisters and brother did, but he did eat some of it!  ;)  I ate a small bowl and liked it!

You could put anything in this porridge!  I used cinnamon, an apple and raisins and chopped walnuts.

This is actually pretty easy too!  The health benefits of quinoa are just awesome!  :)

Rinsed the qunioa, placed it in my water, brought it to a boil, then put the lid on and simmered it for 15 minutes.  The whole time I was in and out of the shower, perfect timing!  :)  Once the 15 minutes were up, I poured in the goodies, then about 1 cup of milk.  Let it simmer for a few more minutes, and viola, it's done!  :)  If you wanted it to be sweet, you could add a bit of pure maple syrup or honey.  i did not add any of that and I was able to eat it!  So that tells you something!  ;)

You could add fresh peaches, strawberries, blueberries, or you could do applesauce and cinnamon, really, anything goes!  ;)


Qunioa Porridge

1 cup rinsed quinoa
2 cups water
1 - 1 1/2 cups milk
and any "toppings" you want....  apples, cinnamon, chopped walnuts, raisins, cranberries, any other dried fruit or any other fresh fruit

Bring the qunioa and water to a boil, uncovered, once boiling, turn down heat to a simmer and simmer with the lid on for 15 minutes.  If the water hasn't absorbed completely, that's ok...  ;)  Add your toppings and milk and simmer until desired porridge consistency!

Yummy and easy!  You could make this the nite before and just heat up in the morning for a fast breakfast!
Let me know if you try it and what combo of toppings you use!  :)
 Quinoa before the boil...
 Quinoa after the boil and simmer for 15 minutes
 All toppings in the pot, I left the skin on the apples... not only is it pretty, but there is many health benefits to leaving the skin on!  ;)
 Toppings and milk added
 All stirred up, needs to simmer for a bit...
I probably shouldn't have let it cook as long, but with little kids fighting in the morning, I kinda had to let it cook a bit longer...  I could've added a bit more milk, but they were ready to eat!  ;)