Friday, December 10, 2010

Mandy's Crunchy/Clumpy Granola

So I was looking at a few different recipes for granola and didn't find one that actually really clumps together. I LOVE and I mean L-O-V-E to snack on granola! There are days where I don't get to eat lunch, but I will either grab a homemade granola bar or a few handfuls of granola... ok, sometimes both.... But it really gives me that energy that I need to get through the day when I don't have the time to sit and eat lunch.

Sure, I feed my kids, I make them sit down and eat, and I know, I should practice the same thing, but I'm tellin' ya... There just are days when I can not do that!

So after looking at a few recipes and remembering the one that I make ALLLL the time, which is tried and true... It's really good, but it just doesn't make those clumps that I like. So... I experimented and gave some of it away and they told me it was good. Along with my kids, but my kids don't count, they eat anything and like pretty much anything! ;)

You will need a glass Pyrex measuring cup for this, or something that is clear and you can heat in the microwave.

It's how I did my measuring, I know, maybe not the best method, but it worked! :)


3 cups oats, quick cooking is what I used b/c I only have about 50 pounds of it! ;)


Take your clear Pyrex measuring cup and put it any combo of things you want in your granola. I used un-sweetened coconut, a mixture of dried cherries, craisins and diced up dried apples, then to top it off, peanuts, not chopped. Put it in to measure 2 cups, you can use ANY combo of items you want! You could nix the coconut, or just use 1 cup dried fruit and 1 cup peanuts.. whatever you wish, you use! :)


Dump into the bowl with the oats and stir to combine


I then grabbed my 100% PURE Maple syrup.... Dump in about 1/2 a cup in your clear Pyrex measuring cup that you just used...


And then grab your brown sugar. You could use regular, but then it wouldn't be as "healthy"! So I tried using my organic light brown sugar...


I dumped in 2 heaping tablespoons of that stuff... Ya know, grab your soup spoon and use that to measure! ;)


next grab some vanilla... I didn't measure but it was right about 1 to 1 1/2 teaspoons of vanilla. (this is the GOOD stuff from Mexico, yummy!!!!)


Ok, by now this is where your measurements should be at. You see it's right under the 1 cup line....


Next I grabbed my coconut oil and filled it to make it to the 1 cup line. So I put in right about 1/4 cup.... Stir it up using a small whisk and pop that whole Pyrex in the the microwave for a minute, just enough to heat it up and get that sugar dissolved. If it still isn't dissolved, put it in the microwave for 30 seconds, stir, and that should do the trick. But you should be fine after 1 minute! ;)


Dump the liquids over the top of your oats mixture...
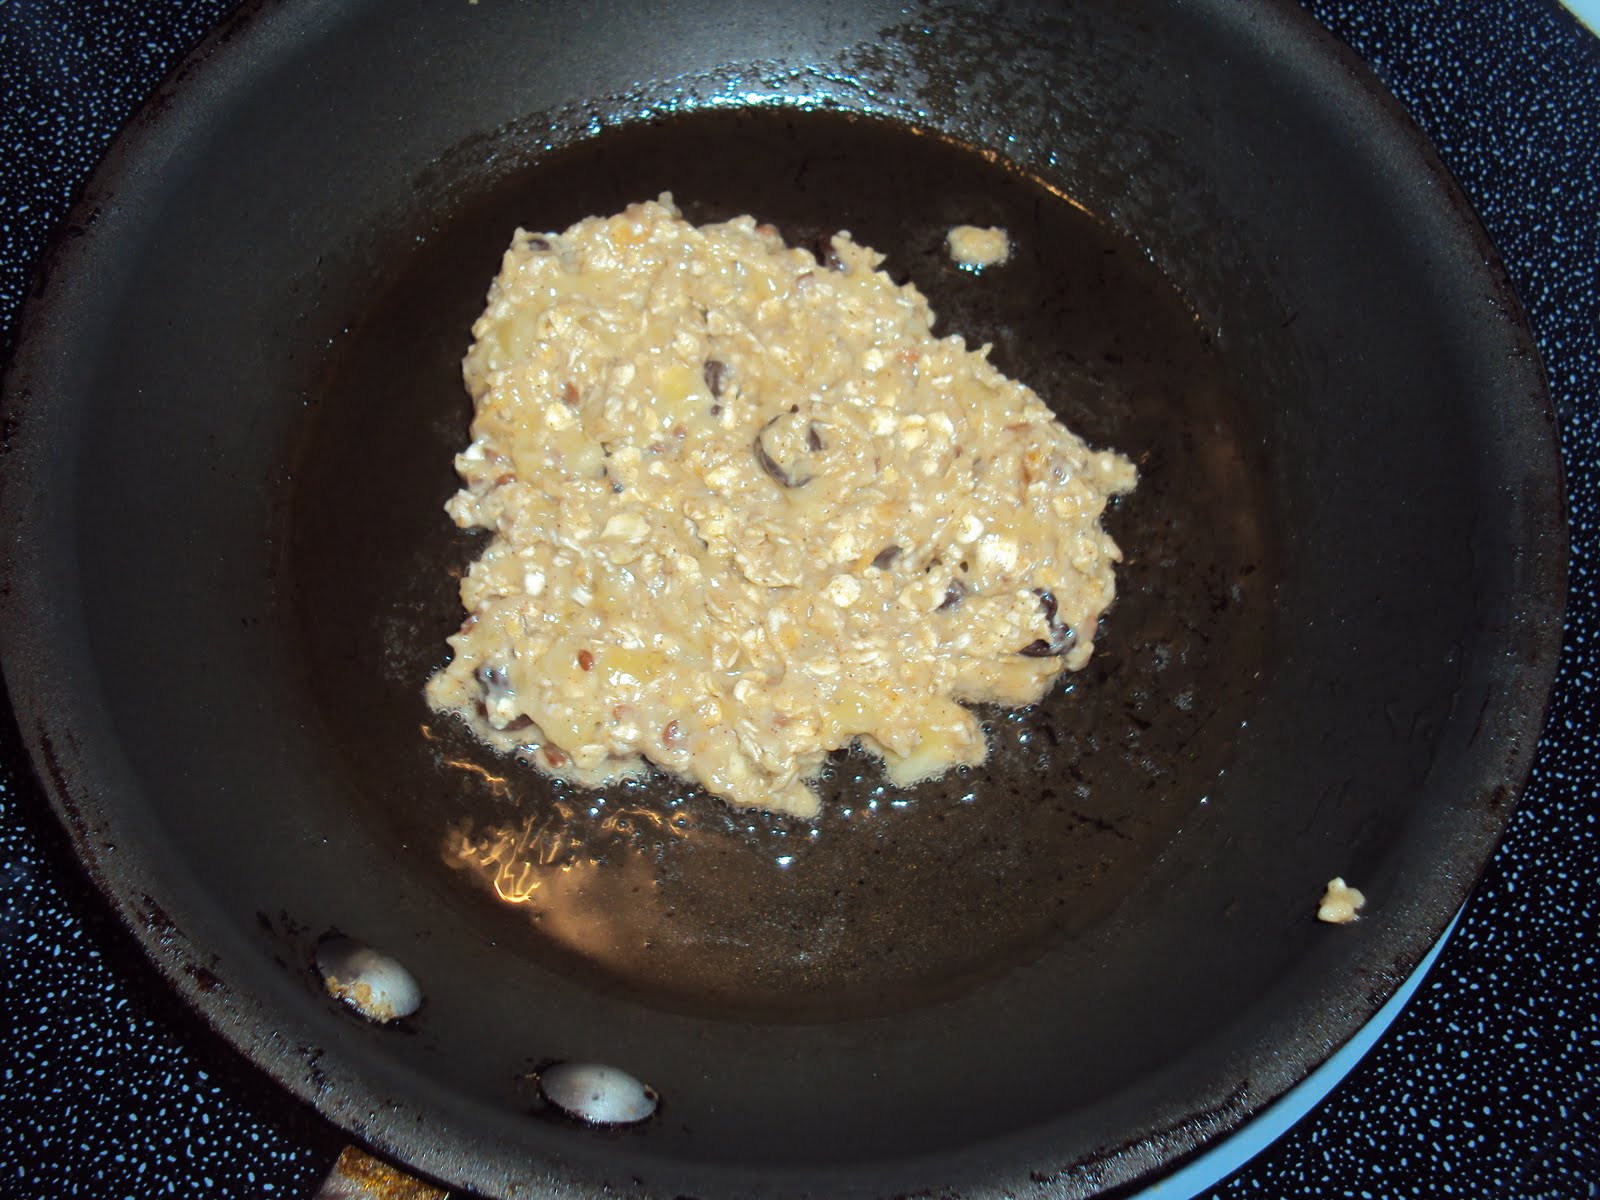

Stir to combine....


Place the granola onto a foil covered cookie sheet.


Cover your cookie sheet, but press down the edges, and place in the oven at 250 degrees. Bake for an hour with it covered, then take off the foil and cook for another 15 minutes. Let it cool, then break the pieces apart...


It's sooo easy and sooooooooooooooo good! I just had a bowl of it for my breakfast, so tasty!!! And healthy! ;)


I forgot to take a pic of my "after", so will be making it again and will take a picture! ;)


Enjoy and let me know what you think!! :D

Thursday, December 9, 2010

Homemade Hot Cocoa

I don't have any pictures for this because I was in a hurry and in all honesty, wasn't sure if it was going to turn out!
I don't have exact measurements, but this is what I did....  ;)


1 1/2 - 2 cups non-fat dry powered milk
1 cup powdered sugar
1 cup baking cocoa powder
1 cup semi-sweet or white chocolate chips chopped in a food processor

Place all ingredients in a bowl and mix thoroughly.
Store in an airtight container for up to 3 months.

To make hot cocoa...
Fill a mug full of HOT or boiling water.  Place 1/3 cup of the cocoa mix into the mug and stir...
Be careful because it will be hot! 
You can add some whipped topping, marshmallows or a candy cane to this.  Stir it up really good and enjoy!  Mmm.... nothing like a homemade hot cup of cocoa!

The kids didn't call it hot chocolate like they do the store bought kind, but they call this HOT COCOA!!!  :D  enjoy and let me know what you think!

Sorry there aren't any pictures.... :(

Monkey Scramblers


This was a fun and pretty easy recipe to do! I was a little late at getting breakfast this morning, so I wanted something fast, but yet healthy. Fast and healthy, not always easy!

This was fast getting it all mixed up, but I did have to "fry" it, so that took a little bit. But really, it wasn't bad. I only did one in the pan at a time, if you have a bigger pan, you can do more...

I had homemade white bread, so that part wasn't super healthy, but it was homemade, so in that respect, it was healthy! ;) You could put this on any type of bread you have or even a whole wheat english muffin!

You can also grind up your flax seeds, but I didn't take the time for that. The only way I can grind them is by using my coffee grinder and frankly, I was just plain too lazy to clean that thing out to put in a few flax seeds! They have eaten them whole in a corn chip, so I know they could handle this! (My mom had picked up some flax seed corn chips that they LOVE, I am wondering I can figure out how to make something like that....)If you don't have flax seeds, that's fine too, but they are healthy.

Flax seed is high in most of the B vitamins, magnesium, and manganese, but this little seed is just getting started. There are three additional nutrient groups which flax seed has in abundance, and each has many benefits.
Flax Seed is Rich in Omega-3 Fatty Acids, High in Fiber, High in Phytochemicals.

Anything that is rich in omega 3's and high in fiber is a plus in my book! :) But if you are eating alot of things with fiber, make sure you are drinking lots of liquid or you may get a little, um, ya know, I'm just gonna say it, constipated! And that's no fun... ok, now we've had enough info on this, let's get to the recipe!

I didn't get to take a pic after every time I dumped something in the bowl, my battery was running on low, no, not low, but running on dead and knew I only a few pictures to take before it was dead and would have to charge the battery, and I didn't have time for that! :)


Mix, mashed bananas, oatmeal, flax seed, cinnamon, milk and peanut butter together...

Then add the chocolate chips, but if you don't want them, skip this part... But if you making them for your monkeys, I bet they will really appreciate a few chocolate chips in their morning breakfast! :)


Place one spoonful on light greased pan and cook for about 5 minutes or until lightly golden brown...

As you can see, mine got a bit dark, but my monkey's didn't complain... they were just overjoyed that I actually added some CHOCOLATE CHIPS to their breakfast! ;)


Once the other side is done, place it on a piece of toast... again, mine was white, but it was homemade, so it was ok.... ;)


And rally those monkeys of yours and enjoy!! ;)


Monkey Scramblers
•2 bananas
•1/2 c. oats
•4 T. non-dairy or organic milk
•2 T. natural peanut butter
•1-2 T. ground flax
•dash of cinnamon
•1-2 heaping T. chocolate chips
•4-5 slices whole wheat bread, toasted
Mash together banana, oats, milk, peanut butter, flax and cinnamon. Fold in chocolate chips. Place a spoonful of batter into a skillet that has been coated with coconut oil and placed over medium heat. Cook for 5 minutes on each side, or until scrambles are starting to brown, and then flip and cook for a few minutes more. When scrambles are cooked through, place each on a slice of toasted bread. Then rally your monkeys! Mine sure enjoyed it! Infact, they want it again for breakfast tomorrow! ;)

*You can use regular milk if you like....You can also omit the chocolate chips, but a little chocolate in the morning isn't going to hurt them! It's just those sugar coated cereals that aren't healthy for them!
(I actually tried it too... you know me and oatmeal, NOT my fav, but will eat granola and granola bars.... So I tried it, it was pretty good! Personally, I'd need to put a few more chocolate chips in it, but it was good!!! ;))

Wednesday, December 8, 2010

Orange Chicken with Snow Peas


Oh my goodness is this ever GOOD!!!!!!!!! We ALL gobbled this one up with hardly ANY left overs! Which is a good thing and a bad thing.... one, I was going to use the left over rice to make the next day's lunch, and since I didn't have any leftovers, I just decide to not do that lunch... And the other reason, no extras for another lunch! Sigh... oh well... I can totally deal with that! ;)

 Brown your cut up chicken while that is browning, cook your steamer veggies and then combine:


How hard is it to find NON- steamer veggies?  Man, this isn't the first recipe that calls for frozen veggies and the only kinda I can find is the steamers...  Which is fine, but I don't want to cook them BEFORE putting them in the recipe, but oh well...  I did.  I just didn't cook them for the full 7 minutes, I just did it for 4... ;)
You can also use fresh, I will, when they aren't so expensive!  ;)


 your ORANGE JUICE!!!  YUMMO!!!!!!!!!!  :D
 Ginger, ok, I'm gonna be honest, when a recipe calls for ginger, I somewhat cringe, I don't like it.  I don't know why...  When a recipe calls for it, I put only a SMIG (is that even a word?) of what I should be putting in....  But I was a big girl this time and, whoa, what is that?  Two, I mean TWO TEASPOONS!!!!!I had faith in this recipe this time folks!  I jumped in with my 2 feet and my 2 hands!  And let me tell you what, I was not disappointed!!  This very recipe may have opened my eyes to adding the RIGHT amount of ginger to my recipes....  ok, well, maybe....
 HEAPING tablespoon of honey, yes, that is a soup spoon, aka, tablespoon in my house.  I think I learned that from my mom?  Or maybe I am just blaming her, I don't remember...  (sorry mom, I love you)
 And the good ole soy sauce!
 That's 3 HUGE cloves of garlic folks!  Go big or go home, ya gotta be able to TASTE it!!!
 Here's that lovely sauce, I know, it looks SOOOOO appetizing doesn't it?  Bur seriously, it's REALLY good!  If only it was  a scratch and sniff pic, you'd be going to make yourself some orange chicken RIGHT now!!
 Once your chicken is about cooked, add those lovely red peppers.  Again, can I say YUMMO! 
 Next add those half cooked snow peas...  Man, I sooo wish I had some right now! I made this about 2 weeks ago and so hungry for this right now at 11:30 at nite!
 Once those veggies and chicken are cooked, go ahead and put those in a plate/bowl for later...  Take that SAME pan and add your juice mixture.  I realized that my sauce wasn't going to get thick unless I added something to it, so I added some cornstarch.  In all honesty, I have NO clue just how much.  I guess start with 1 teaspoon, and see if it starts to thicken up, if not, sprinkle a bit more in and make sure you WHISK it to get rid of all those clumps!
 Ah, this is what I am looking for, it's all bubbly and getting thick, oh does it ever smell good?  Don't ya just want some right now?
 Ok, now the sauce is the thickness I want, I then go ahead and add that chicken and veggie mixture to that lovely orange sauce... Oh the smells coming to my nose, soooo good!!!
 Just look at that!  Ok, so this pic isn't the greatest because my light still isn't fixed at this point, but....
 Just look at THIS!  Serve on top of your choice of rice, mine is jasmine...


Orange Chicken


1 3/4 cup orange juice  (I used that SIMPLY ORANGE brand b/c it's the freshest I get)

2 Tsp ginger, ground

1 heaping tablespoon honey

3 garlic cloves, minced

2 Tbsp soy sauce

1 lb chicken breast, cubed, boneless, skinless

1 cup snow peas, halved (buying fresh is WAY crazy out here this time of year, so I bought the frozen pgk)

1 red bell pepper, cut into 1-inch thin strips (I only had half of one from a different recipe, worked just fine)


1. Mix the first 5 ingredients in a bowl.

2. Heat the oil in a large sauté pan over medium heat and cook the chicken cubes for 3 minutes, stirring occasionally.

3. Add the vegetables and cook an additional 2 minutes then transfer the chicken vegetable mixture to a bowl.

4. Add the sauce to the pan, bring to a boil and cook for 5 minutes until reduced by half.

5. Add the chicken and vegetables back into the sauce and cook an additional minute.

6. Serve.


It really is easy!!!
I used the whole package of frozen snow peas.  You can use fresh and use as much as you like!  :D

Tuesday, December 7, 2010

Peppered Pork Tenderloin

Going through some blogs and recipes about a month ago, I ran into one that caught my eye...  Only because I saw that name and thought wow, I know someone by that name!  But I was like, nah, it probably isn't her. 

Then I saw a pic of her pot and was like, ok, this has to be her, but really, can it be?  ;)  So I did some digging and went way back into her blog, some of the first ones she posted and found out that it was indeed the lady that I knew from Iowa!!  Funny how neither one of are there anymore...  but that's besides that point!  :)

I saw this recipe and was said I HAVE to try it!  So all credit is to her!  Will post the link to her blog below so you can check out some of her awesome recipes as well!!!

I went to 3 different grocery stores before I FINALLY found the pork tenderloin!  I thought maybe I could try a pork rump roast, pork lion, but nope, I wanted the tenderloin!  It was worth going to 3 different stores for it too!

This is going to be one of the easiest recipes you've ever made!  ANYONE can make this bad boy!  ANYONE!!!

All you need is a pork tenderloin, any size will do, and a jar of banana peppers.  Go for the hot if you wish, if you are into hot banana peppers.. ;)


 Throw that pork tenderloin in the crock pot
 Add that FULL jar of banana peppers!!  :D
 Just dump the WHOLE jar over the top of the tenderloin!!  I then added half a jar of water to make sure I got all that yummy juice out!
 Yummy, just look at that!  I soooo wish this was a scratch and sniff!!  :D
On the plate...  sooooo good!!!!!


In crock pot place pork tenderloin and then pour your jar of banana peppers (hot or mild) over the top.  Let it cook all day and stir to break apart!
Place on hoagie bun and eat!

Ok, so I did a few things.... opps.  not fully reading the recipe could get me in trouble sometime!  :)
I put it in the crock-pot before church and by the time we got home (set on low) it was ready and falling apart!  It was soooooooooooo good!!!  What I did differently, I just put the meat on the plate and we ate it that way with garlic roasted potatoes...
After emptying the jar into the crock-pot, I filled it half way of water and dump that in the crock pot...
So I didn't read the part of putting it in a hoagie bun and eating it...  but it is soo good by itself!  But I am sure it's AWESOME in the bun!!!

Here's hungry momma's link, go take a look!!!

http://thehungrymomma.blogspot.com/

and here's the direct link to the peppered pork tenderloin recipe

http://thehungrymomma.blogspot.com/2010/11/grandpa-branhams-peppered-pork.html

Sorry!

opps, seems like my Monday's get here too fast... If I don't have a recipe half started, then I don't get to finish it...  My hubs is out of town this week and was planning on getting one on here today, but that didn't happen...  obviously huh?  ;)  Just with him gone, well, let's just say it takes more out of me and I have no energy to write a recipe!!! Sorry...  :(
I worked on it a bit tonite, but will have to finish tomorrow... I'm pretty tired...
Oh wait, I have a super easy one that I found on a friends site, will work on that and get that one up...
But stay tuned for ORANGE CHICKEN!!!  It's sooooo good, that will be up SOMETIME Wednesday, I promise!!!  :D

Saturday, December 4, 2010

Hamburger

Saturdays I will either post a tip or an easy recipe, or I may just forget altogether! So hang in there with me!
It seems like there just aren't enough hours in the day to get everything done that I want too!

Teach my kiddos, take care of them, clean the house, get them breakfast, lunch and dinner, and did I mention take care of all 4 of them? :) As crazy as it can get, I wouldn't trade it for ANYTHING!!!

So.... When I buy hamburger or turkey, I buy it in BIG packages. I mean anywhere from a 5 pound package to a 10 pound package. Yes, it is a bit pricey, but I make my meat last a LONG time, unless it's sloppy joes or hamburger/turkey burgers!

After I get the meat home and the gazillion other things that I got put away, I brown that whole package of meat. Drain off the fat and let it cool down. Then I will either do 2 things, I will fill up a gallon size baggie and stuff it in the freezer, OR I will put how much I will use in a recipe in a sandwich baggie and then place all those baggies in a gallon size one and stick it in the freezer.

Like I said, it's a bit pricey, but usually the more you buy you save more per pound for buying bigger packages.

Plus, when you need browned beef or turkey for a recipe, all you have to do it pull it out of the freezer and defrost it! The great thing is if you forget to pull it out in the morning for your recipe, it doesn't take very long to defrost! :)

When I have meatballs on my menu I will go ahead and make them, put them on a cookie sheet to freeze, then place them in a gallon ziploc freezer safe ziploc baggie. That way all I have to do it cook them! If you want to get adventurous, you could even cook the meatballs and cool them, then place in a baggie then all you would have to do it re-heat it! :)

Friday, December 3, 2010

Chicken and Rice


This is another really easy one!

I am not a huge fan of the "cream of" soups... Don't get me wrong, they are great for when you need them... But have you seen, and I mean REALLY seen how they come out of a can? That really can't be good for you, can it? But of course, they are my go to when I am making a casserole or something. SO I guess I can't say too much, because I really do use them alot! ;) sigh, oh well.. but atleast this time I made something healthy! :) And I didn't use the cream of soups, not just because I don't have a working can opener, (yes, my hand held can opened bit the dust, I am so depressed! Now I need to go buy another one....) but because I wanted to try something different! ;)

There is a bit of prep work involved though, but as long as you REMEMBER to turn your rice cooker on, it's all good! ;) I've forgotten that MINOR detail, alot!!! You would think by now I would remember to hit that button that says cook, but yeah, anyways....


Saute mushrooms and onions


(sorry about the lighting here on these pics... my fan light above my stove is dead, and when you turn the flash on the camera, it's too bright! I just can't win here!!!)
Here are the sauteed mushrooms and onions in a bowl


Now cook your chicken with your minced garlic


Add some sour cream (it's about a cup)


Now the cheese! You can use whatever kind you would like, I use cheddar and mozzarella, because I didn't have enough cheddar.


Then add the rice and cooked chicken and mix it all up...


My bowl wasn't big enough to mix everything, so I just dumped it all in my casserole dish and mixed it all up ;)


Here it is before cooking, and in all honesty, it doesn't look much different coming out of the oven! ;)


Here it is ready to be eaten! nice and warm and sooo good! :)


Chicken and Rice


1 Tbsp coconut oil
1 Small Onion, diced
1 8oz package Mushrooms, sliced
1 Tsp salt
4 cloves of garlic, minced
1 Lb Chicken Breasts (about 2), boneless, skinless, cut into 1/2 inch pieces
1 cup sour cream
1 1/2 Cups Cheddar Cheese, shredded (plus additional for sprinkling on top)
3 Cups Cooked Rice

1. Preheat oven to 350 F.
2. Place 1 tbsp of coconut oil in a large saute pan over medium heat and cook the onions for 2 minutes.
3. Add the mushrooms, season with 1/2 tsp of salt and cook another 4 minutes or until the mushrooms are tender and the onions are translucent.
4. Remove the mushroom mixture and place in a bowl.
5. Heat 1 tsp of oil in the sauté pan and cook the chicken, minced garlic and remaining 1/2 tsp of salt for 3 minutes or until cooked through.
6. Combine all the ingredients together, place in an 9 x 13 inch baking dish and sprinkle with additional shredded cheese.
7. Bake for 20 minutes.
8. Serve.

*This is sooo easy! Like I said, as long as you remember to turn your rice cooker on! :)
You could also use wild rice for this... I use jasmine rice for pretty much anything, it's sooo good! Not as healthy as brown or wild, but it's good! ;)
You don't have to add all the mushroom either, but the sour cream and mushrooms act like the cream of mushroom soup, just a healthy version. ;)
You also don't need to add all 4 cloves of garlic, but it wasn't too strong! We LOVE garlic! ;)
Also, if you are looking for dairy free, just get the dairy free sour cream and cheese.
Enjoy!!!