Wednesday, August 25, 2010

Chicken Stir Fry


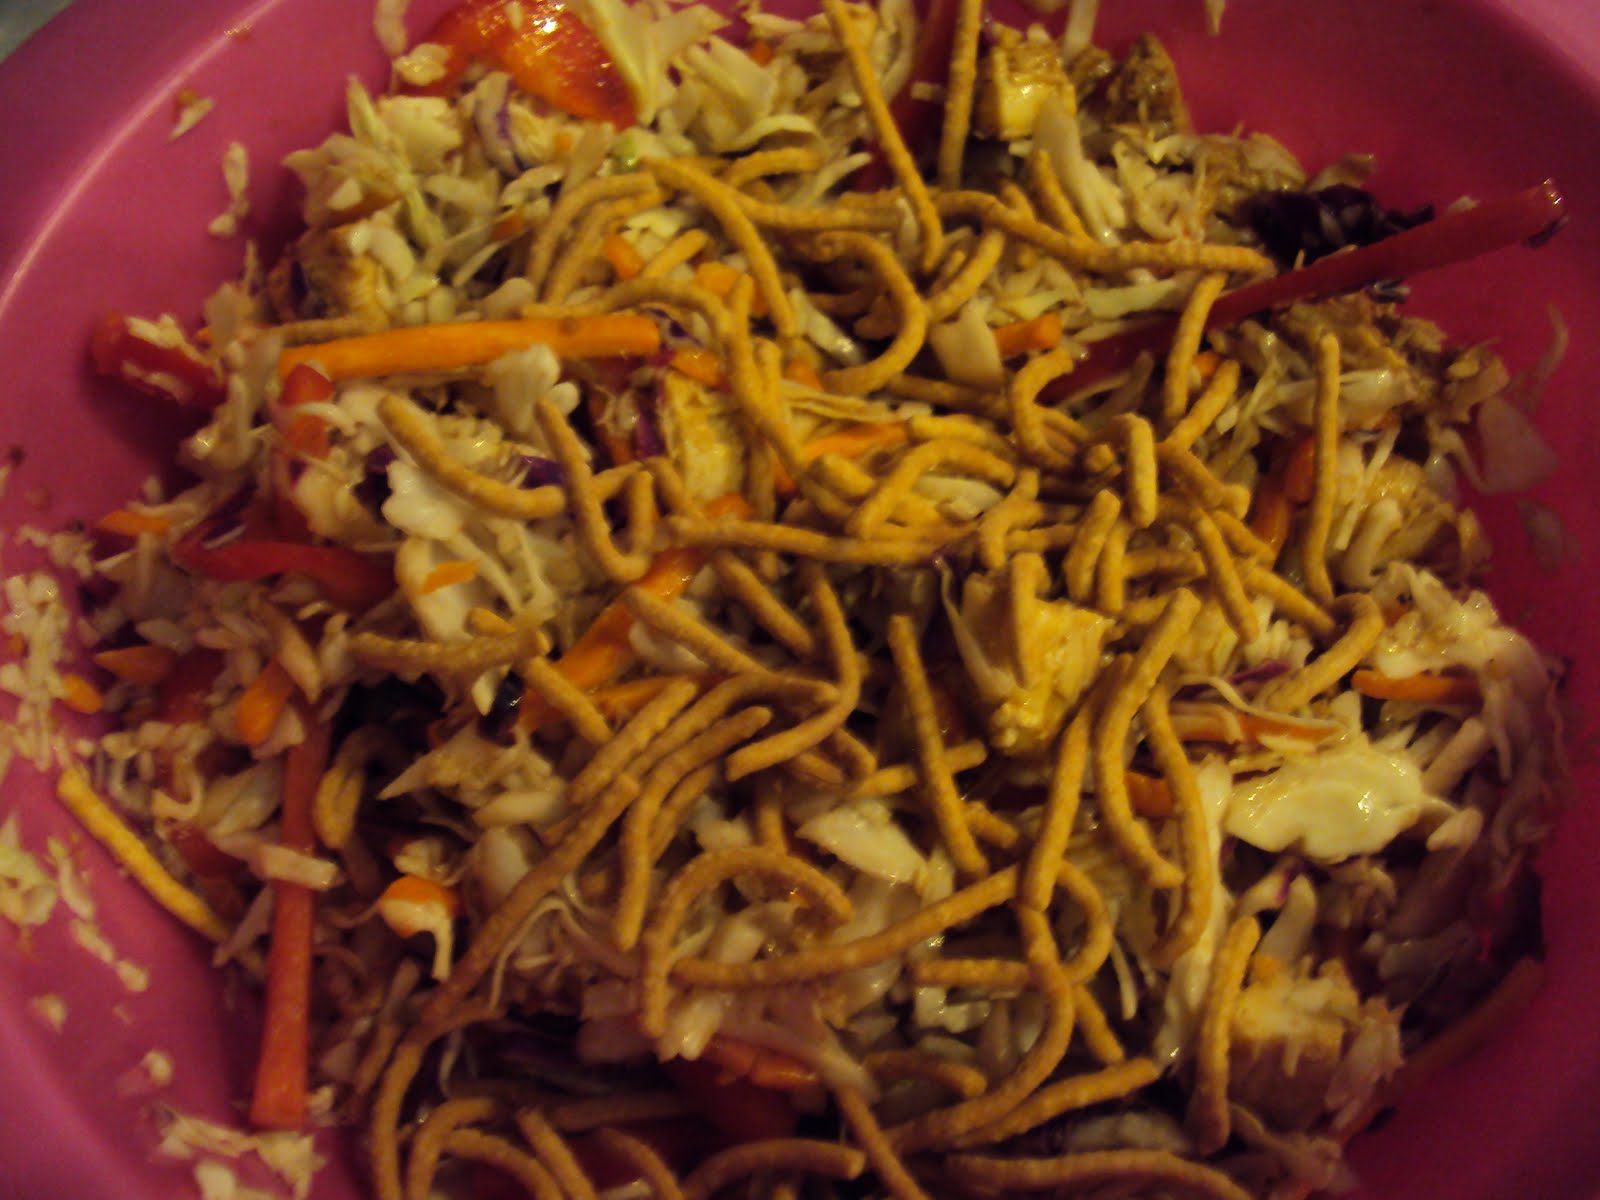
I grew up on Stir Fry! Cabbage stir fry! :) I loved it when my mom would whip out the wok and I knew we'd be having some supper yummy stir fry!!! :) I loved helping her cook the meat. I thought (as a kid) that it was soo cool to stir that chicken around in the wok. Don't ask, I was weird...
Ok, I still am! ;)

Anywho...

What I loved about this is I used ALL fresh produce from the Farmer's Market and used leftover rotisserie chicken I had bought. So with the chicken I got 2 meals in one! WHOO HOO!!!!!!!!!
Yes, little things excited me! ;) (especially when I got TWO chickens for 5 bucks!!!!)

Ok, getting back to the recipe...

You can use as much or as little as you want! It just depends on how much you need to feed your family, or you...

I used half a head of cabbage just because I had so many other things to add! And you can add more than what I did!

Place cabbage in cast iron skillet coated with a bit of coconut oil (you don't need a cast iron skillet or coconut oil... ;))


Cut up, green zucchini, yellow squash, patty pan squash, red and green pepper


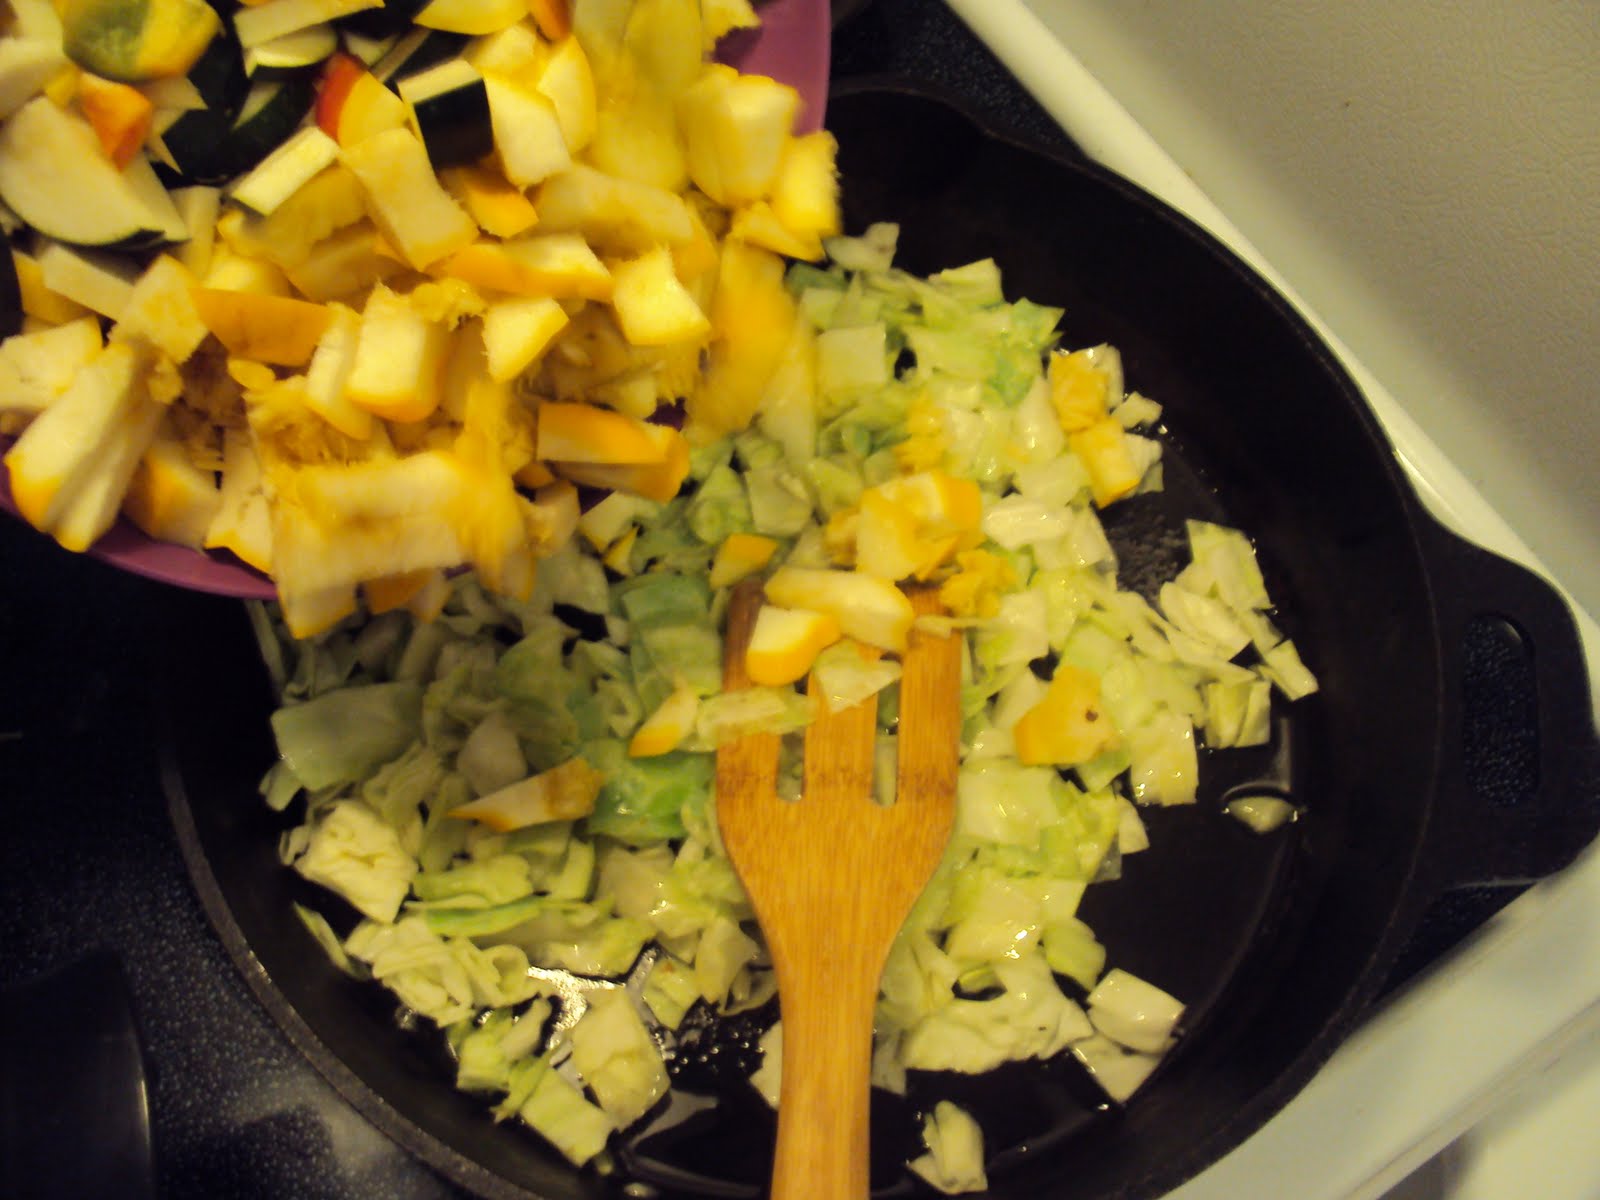
Add the cut up veggies to cabbage in skillet


Mix it all together


Cut up cooked chicken


Add chicken to veggies


Stir it up


Serve over jasmine rice (or any other rice! Brown, white, etc...)


Stir Fry

(there really isn't an "special" recipe for this, you can add and change ANYTHING to this!!! This is what I used this time, it isn't always the same!)

Half a head of cabbage
1 green zucchini
1 yellow squash
half of a red pepper
half of a green pepper
1 patty pan squash
Cut up chicken (I honestly don't know how much! I don't measure, I dump! ;))

Cut up cabbage, as small as you want. I like it small bite size pieces
Dice up the rest of the veggies and place in med-high skillet with the cabbage. Cook until almost done and then add chicken until it is the desired tenderness that you want. I like my not firm, but cooked through, if that makes sense! :)
Serve with rice, or just by itself!

*I wanted to add some mushrooms to this, but didn't have any on hand.
You can always add onions.
I think I may have added some Adobo spice to this as well. Before I discovered this AWESOME spice, I would add some salt and pepper and garlic salt.
I also like to add chopped up garlic, about 3-4 cloves!
The possibilities are endless with stir fry! :)
You can make it vegetarian as well.
Post comments, let me know how you like to make yours!

Tuesday, August 24, 2010

Tuna Mac and Cheese


Ok, so I am all about healthy, but I am all about easy as well!


I don't normally have mac and cheese on hand, I used to have it all the time! It was a quick and easy lunch or dinner with a veggie. Then my one punk is allergic to milk, so I stopped getting all cheesy things, including mac and cheese.


I figured out she could have KRAFT mac and cheese and ONLY that brand.... So I would get it every so often. But I don't really like having "kits" on hand, I prefer to make things by scratch.


Please don't read this the wrong way! I am not gonna judge you if you give your kids mac and cheese and hot dogs. There are times I do that for my kids! I TRY to do healthy, but sometimes I need that fast not so healthy meal! ;)


This one is SUPER easy too!


Make the mac and cheese per box directions


add the cream of mushroom soup


add the tuna and the shredded cheese


Pour into a 8x8 dish, cover and bake for 30 minutes


I served this with green beans!


Tuna Mac and Cheese


1 box of mac and cheese (any brand would be fine-also make it the way it calls on the box)

1 can cream of mushroom soup

1 can tuna, in water, drained (Maryland folk, please don't jump out and strangle me through the computer! If you want to use fresh, go for it!!! ;))

1/2 cup shredded cheddar cheese

Make the mac and cheese per box directions. Mix in cream of mushroom soup, drained tuna, cheddar cheese. Mix all together, place in 8x8 baking dish, cover and place in 350d oven for 30 minutes.

*You can use 2 boxes of mac and cheese, and you don't have to double the other ingredients. But if you want too, go for it!
Also, you can use fresh fish, just cook it and then add.
Feel free to add more fish if you prefer or more cheese! I just have to be careful with how much milk product I put in my recipes!
ENJOY!!!!!!!!!


Tuesday, August 3, 2010

Thai Chicken Salad


In all honesty, I was a bit unsure about this. Especially after I tried a small bit of the coleslaw before I added the chicken. I was like oh man, no one is gonna like this stuff! Oh well, here goes!

But you know what? I was surprised! By the time you add the chicken and the chow mien noodles, it was sooo good! All the kiddos loved it and wanted more!

This is SUPER easy!

I also used my left over grilled chicken that I had, so that made it even easier!


Coleslaw mix with the sliced peppers... Pour salad dressing over top and mix


This is the peanut sauce I used. But I made a note at the bottom for those who are allergic to peanuts, that way they can enjoy this too! :)


Peanut sauce over my cooked, cut up chicken


Chow Mien Noodles on top, ready to eat!


Thai Chicken Salad

1 16 oz package cole slaw mix
1/3 cup sesame ginger salad dressing
2 cups cubed cooked chicken
1/2 cup Thai peanut sauce
1 medium sweet red pepper, julienned
1/2 cup chow mien noodles

In a large bowl, combine coleslaw mix and salad dressing. Combine chicken and peanut sauce; place over coleslaw mixture. Top with red pepper and noodles. Serve immediately.

*I just put the coleslaw, red pepper and salad dressing in a bowl, mixed it up. Then I put the cut up chicken in another small bowl and stirred it up. Then dump the chicken in the coleslaw, mix it up. Then add the chow mien noodles.
I let the kids add more noodles to theirs. ;)
I am also thinking you can substitute Soy Nut butter or Sunflower butter for this instead. Would need to add maybe a bit of water or some type of liquid to make it just a TAD thinner... But that way if you have a peanut allergy you could still try it! :)
ENJOY!!!!

Thursday, July 15, 2010

Blackberry Cobbler


Mmm, sooooo good!!! The kids were SUPER excited to try this since they helped picked the berries!

Dust berries with sugar and cinnamon


Mix together the water and cornstarch until smooth


Add cornstarch mixture to berries


Cook until it comes to a boil


Pour the blackberries in an 8 x 8 inch square pan, then dot with butter


So instead of "cutting in" (like taking butter slices and dropping it in the flour and use a pastry blender to cut it in....) I melted mine til it was almost completely melted, then stirred it up. Worked just fine and was a bit easier! :)


Ta-Da!!! :)


Then you add the milk and it is kinda lumpy as you can see


Drop it over your berry mixture by the spoonfuls


All done!


Ok, so you can't really see the biscuit over the berries, but it's in there!


Added some homemade whipping cream!


And then I got adventurous, not pretty enough for a restaurant, but hey, I can try and play right?


Blackberry Cobbler

3 cups fresh or frozen blackberries
1 cup sugar
1/4 teaspoon cinnamon
3 tablespoons cornstarch
1 cup cold water
1 tablespoon butter

In large saucepan put your berries and the sugar and cinnamon all together. Cook and stir mixture until it comes to a boil. Combine the cornstarch and water until smooth, stir into fruit mixture. Bring to a boil; cook and stir for 2 minutes or until thickened. Pour into a greased 8 x 8 pan. Dot with butter.

Biscuit Topping:
1 1/2 cups flour
1 tablespoon sugar
1/2 teaspoon baking powder
1/2 cup cold butter
1/2 cup 2% milk

In small bowl melt butter until it's almost melted, add the flour, sugar, and baking powder. Stir until mixture resembles coarse crumbs. Stir in milk just until moistened. Drop by tablespoonfuls onto hot berry mixture.
Bake uncovered at 350 degrees for 30-35 minutes or until filling is bubbly and topping is golden brown. Serve warm. Either with whipped cream and/or vanilla ice cream!
YUMMY!!!!

Friday, June 25, 2010

Mini Key Lime Pies


These are really refreshing!!! I only gave half of these to my kiddos, even though they are mini, my kiddos don't need that much sugar! :D Plus all the more for me! :D
They are also REALLY easy to make, and did I mention they are really refreshing on a hot nite?


Taking my marble rolling pin crushing the graham crackers...


Pour the crushed crackers in the ramekins...


Mixing the cream cheese and sweetened condense milk...


Rolling out the lime to get all the juices "loose"


What it should look like after mixing it all together!


Pour them into the 4 ramekins...


Ready to be covered and put in the frig

View from the side


View from the top, I added a bit of the lime zest...


Mmm, yummy!!! ;oP


Mini Key Lime Pies

4 squares graham crackers crushed or vanilla wafers (may need a few more vanilla wafers-but if you chose to keep them whole, you will only need 4)
1 cup cream cheese
1 cup sweetened condensed milk
finely grated zest and lime juice from 3 limes
extra lime for some garnish, optional

Line the bottom of 4 ramekins with the crushed graham crackers. Put the cream cheese in an electric mixing bowl and beat until smooth. Add the sweetened condensed milk and beat until mixed. Add the lime zest and juice and beat until it becomes thick and glossy. Divide among the 4 ramekins smooth the tops. Cover and refrigerate for 4 hours or overnight. Just before serving, garnish with the extra lime zest.

*I wanted more zing to mine, so I added another lime. You may even want to start out with just 2 limes then mix it all up, then take a little taste test, if you think it's good, then stop, if not, keep adding and tasting after adding one at a time and mixing.
I put my graham crackers in a ziplock baggie then took my nice marble rolling pin and crushed them. Ok, so you don't need a marble rolling pin for it to work, it's just what I prefer! :) Just don't let that thing fall on your toe! ;) No, I haven't but it's been a close call a couple different times!
Roll out your limes before cutting and zesting, it makes them juicer, if that even is a word! :)
Also, I made this a little late in the day, so instead of putting it in the frig for 4 hours, I put them in the freezer for an hour and a half, it worked GREAT! Just remember to take them out if you don't use them all! ;)
This is so easy and simple, refreshing, and it doesn't need to bake, or call for eggs! In my book, make again! :D

Monday, June 14, 2010

Cilantro Lime Butter


I got this recipe from a friend from MI.

Thanks soooo much Deb for sharing this!

She told me she doesn't just use butter anymore for her corn on the cob, but she uses the cilantro lime butter. She thought I could use it the in place of just the butter and salt and pepper when I grill the corn.

So I tried it the other nite and it was good! I am also thinking a little extra to put on after I've grilled it would be pretty tasty too!

SUPER easy and SUPER good!


Softened butter and lime juice...


add the cilantro and salt


and stir it up!


Take you clean, dry ear of corn and place it on a piece of foil...


Spread that yummy butter mixture ALLLLL over your ear of corn!!!


Wrap it up and get ready to put it on the grill... (we had gymnastics this nite, so I had them ready to go before we left, so the corn sat in that butter and juice for a little over an hour before grilling, yummy!!!)


All done! It was good!
And super easy, did I already say that? ;)


Cilantro Lime Butter

2 Tbsp unsalted butter, room temperature (slightly softened)
2 Tbsp chopped cilantro, packed
1 Tbsp fresh squeezed lime juice
1/4 teaspoon salt

Mix and use. Delish!!

*I put my 2 tablespoons butter in the microwave for a few seconds to get it softened.
I also don't think I packed in the cilantro. Not a huge fan of it, but cooking and using it more so am getting to like it better. ;)
I think it took about 4 limes for me to get that much lime juice out...