Ok, I LOVE this one much better than the other soap that I posted! ;) It is just as easy as the liquid kind, but what I like about this, it doesn't clump! I've been through 2 of the liquid recipes and decided I'm not 100% sold on it. Yes, it got the clothes and towels clean, the clumping just didn't fly with me!
So I found something on pinterest, but I didn't follow it. I kinda made it up! I will make this again and will add a bit more lavender essential oils. You could add any other oils that you would like. Or you don't have to add any, but it just gives it that SUPER FAINT smell of clean lavender clothes! ;)
I don't remember how much everything cost, but I got my baking soda from Aldi's, which only cost me 49 cents per box... Yes, you read that right 49 cents. I LOVE Aldis.. but that's another post... ;)
I got the Borax from Target... still not 100% sure what to believe with Borax... And then the castile soap I got from Safeway. A package of 3 bars was about 4 bucks I think? So 4 plus 2 plus how much ever the borax was, I think it was 2.99? It made me a gallon bucket FULL of soap... I am using about 3-4 heaping teaspoons of soap per load. I haven't done towels, so I will probably have to do the 4 teaspoons for those. I just washed my dish cloths, and they don't smell, so the soap is a winner in my book! :) Just want to see how it works with towels!
The kids can help grate the soap in the bucket, you mix it with your hands, they can also help break up the clumps of baking soda! Really easy!
So lets say 8 bucks gets me a full gallon of soap... I started it on the 10th of November, let's see how long it lasts me in this house! We do alot of laundry around here!!!! :D
Powered Laundry Soap
1 box Borax (76 oz)
3 bars of castile soap, grates
4 boxes of baking soda (16oz)
a few drops of essential oil IF you want, no need too.... (I used lavender because that's what I had on hand, just to see how it would work and smell)
Mix all ingredients in a bucket, stir with your hands to combine. Place in a gallon container with a lid. use anywhere from 2-4 heaping teaspoons of soap per load.
Also, I have a HE front load washer, I've used it 5 times already and no sign of extra soap suds escaping or messing up the washer!
The reason you need to use "special" HE soap in these washers is they don't need a super sudsy soap to wash the clothes. Since castile soap is made from coconut oil, you don't get that extra bubbles like you would with most other soaps... So, so far, it's working GREAT!
Also, remember to use white vinegar for your softener! CHEAP and it works GREAT! No, your clothes will NOT smell like vinegar, trust me! I've been using it for about 4 months now! :)
Here it is with the grated soap and borax....
Here it is all mixed up! ;) I should've added a few more drops of lavender oil, I think I added about 7, but may try to add a bit more next time... ;)
Here's my gallon bucket, packed full! It seriously was to the top! I couldn't get my spoon in the container!!!
I'll re-post the date when I'm finished with the soap, will see how long a gallon bucket of powered soap lasts in this house! :)
*Since writing this on the 10th of November, I still LOVE it!! It works GREAT!!!!!! i don't smell the lavender smell, so I may still go in and add a bit more, but then again, I may not! I use 3 heaping teaspoons (a plastic spoon) for towels and sheets and usually jeans, but only 2 heaping teaspoons for whites and darks. Still no probs with the front load, it still is working great! You may need to adjust the teaspoons to what works for your clothes, but loving this stuff so far! It looks like it's going to last me longer than a month too! :D
Try it and let me know how you like it!!! ;)
Friday, November 11, 2011
Sunday, November 6, 2011
Pumpkin Oatmeal
This is really good! I know, I think I start alot of my posts out like that, but it's the truth! :)
It's PUMPKIN season, so of course it's good! :) I actually had some canned pumpkin from last year, so I used that. Yes, it was still good! ;)
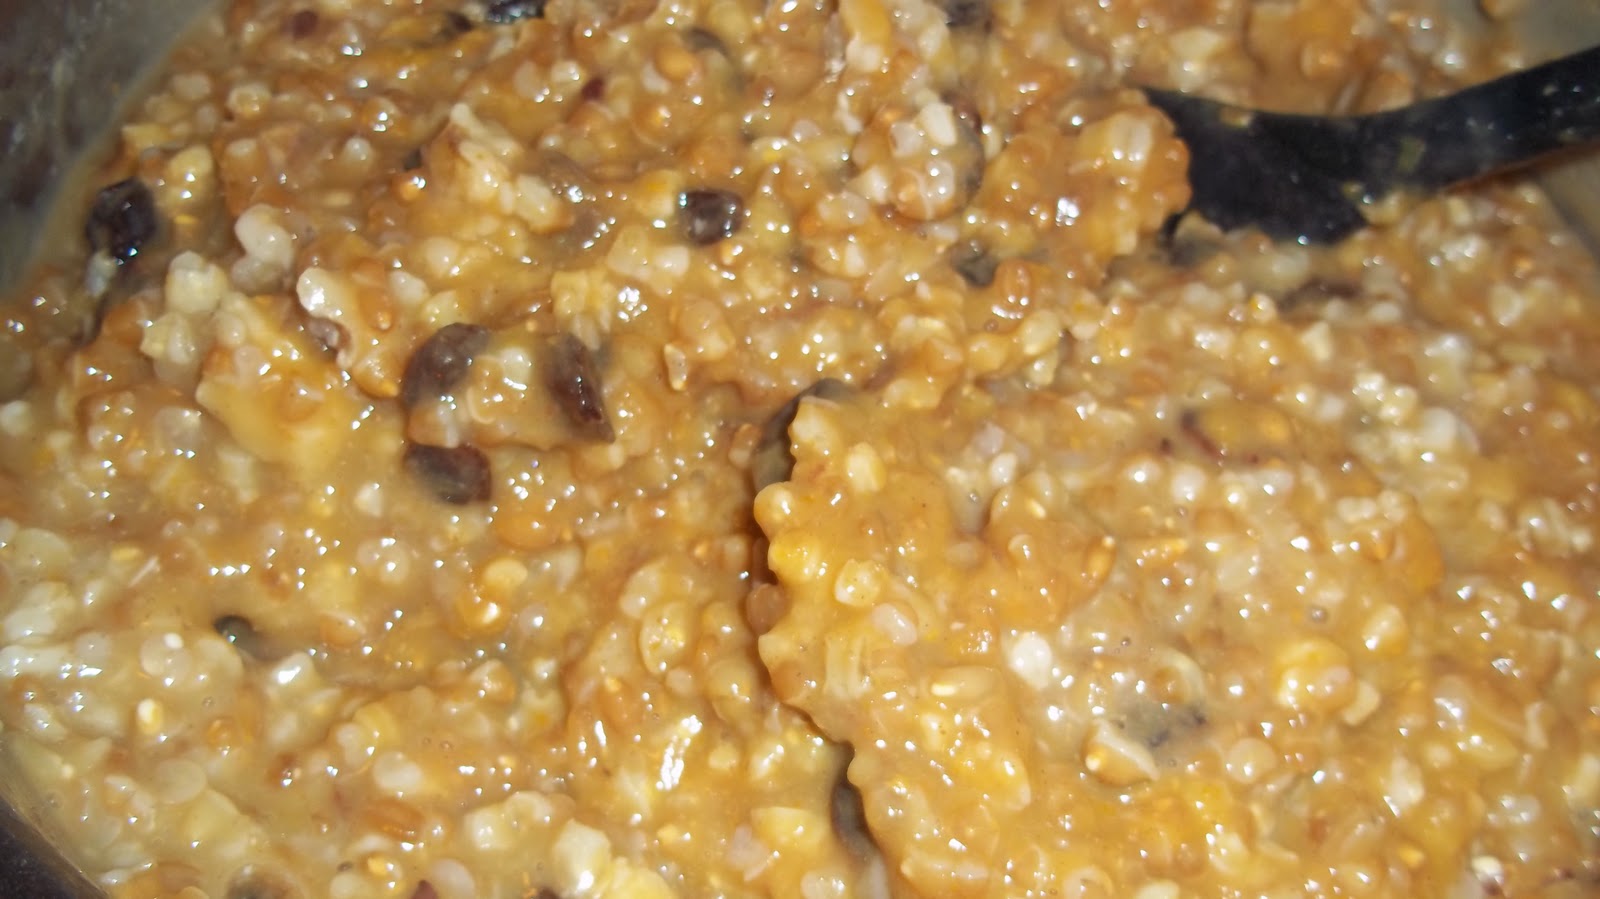
I added pumpkin, raisins, walnuts and a pumpkin pie spice to this oatmeal! My kids ALLLLL asked for seconds!!!! :) I also used steel cut oats, so it took a bit longer to cook, but you can EASILY use regular oats, or quick cooking oats... ;)
Pumpkin Oatmeal
1 cup steel cut oats
2-3 cups water
Pumpkin puree
pumpkin pie spice
raisins
walnuts
Cut steel cut oats until they are done. Mine took almost 25 minutes.... I then took a whole can of pumpkin, (the small can, not the HUGE can! ;)) the pumpkin pie spice, raisins and walnuts, stir until combined and warm. Serve nice and hot! If you want it to be a bit sweeter, add some honey or pure maple syrup. You could add brown sugar if you want. But I try to serve it to my kids without the sweetener. I also ate this with out any sweetener, and it was good! The pumpkin wasn't too overwhelming either. So if you aren't a HUGE pumpkin fan, you would like this! :)
Bring your oats to a boil and then back down to a simmer, cover with a lid and simmer until done.
Here it is ready to add everything! :)
Raisins, pumpkin puree, walnuts, and pumpkin pie spice
It's PUMPKIN season, so of course it's good! :) I actually had some canned pumpkin from last year, so I used that. Yes, it was still good! ;)
I added pumpkin, raisins, walnuts and a pumpkin pie spice to this oatmeal! My kids ALLLLL asked for seconds!!!! :) I also used steel cut oats, so it took a bit longer to cook, but you can EASILY use regular oats, or quick cooking oats... ;)
Pumpkin Oatmeal
1 cup steel cut oats
2-3 cups water
Pumpkin puree
pumpkin pie spice
raisins
walnuts
Cut steel cut oats until they are done. Mine took almost 25 minutes.... I then took a whole can of pumpkin, (the small can, not the HUGE can! ;)) the pumpkin pie spice, raisins and walnuts, stir until combined and warm. Serve nice and hot! If you want it to be a bit sweeter, add some honey or pure maple syrup. You could add brown sugar if you want. But I try to serve it to my kids without the sweetener. I also ate this with out any sweetener, and it was good! The pumpkin wasn't too overwhelming either. So if you aren't a HUGE pumpkin fan, you would like this! :)
Bring your oats to a boil and then back down to a simmer, cover with a lid and simmer until done.
Here it is ready to add everything! :)
Raisins, pumpkin puree, walnuts, and pumpkin pie spice
Saturday, November 5, 2011
Creamed Eggs
I got this recipe from one of my Amish Cookbooks... When I first wrote it down on my calendar to make, I thought it would be really good, but then I was looking at the ingredients and how to make it, then I thought, oh no, the kids aren't going to eat this... BUT, they DID!!!! They all ate 2 slices of bread with the creamed eggs on top!
It was really good! It was a nice filling breakfast on a cold morning!
Creamed Eggs
6 hard boiled eggs
6 tablespoons butter (I used coconut oil)
6 tablespoons flour
1 1/2 teaspoons salt
Dash of pepper
3 cups milk
Bread, toasted
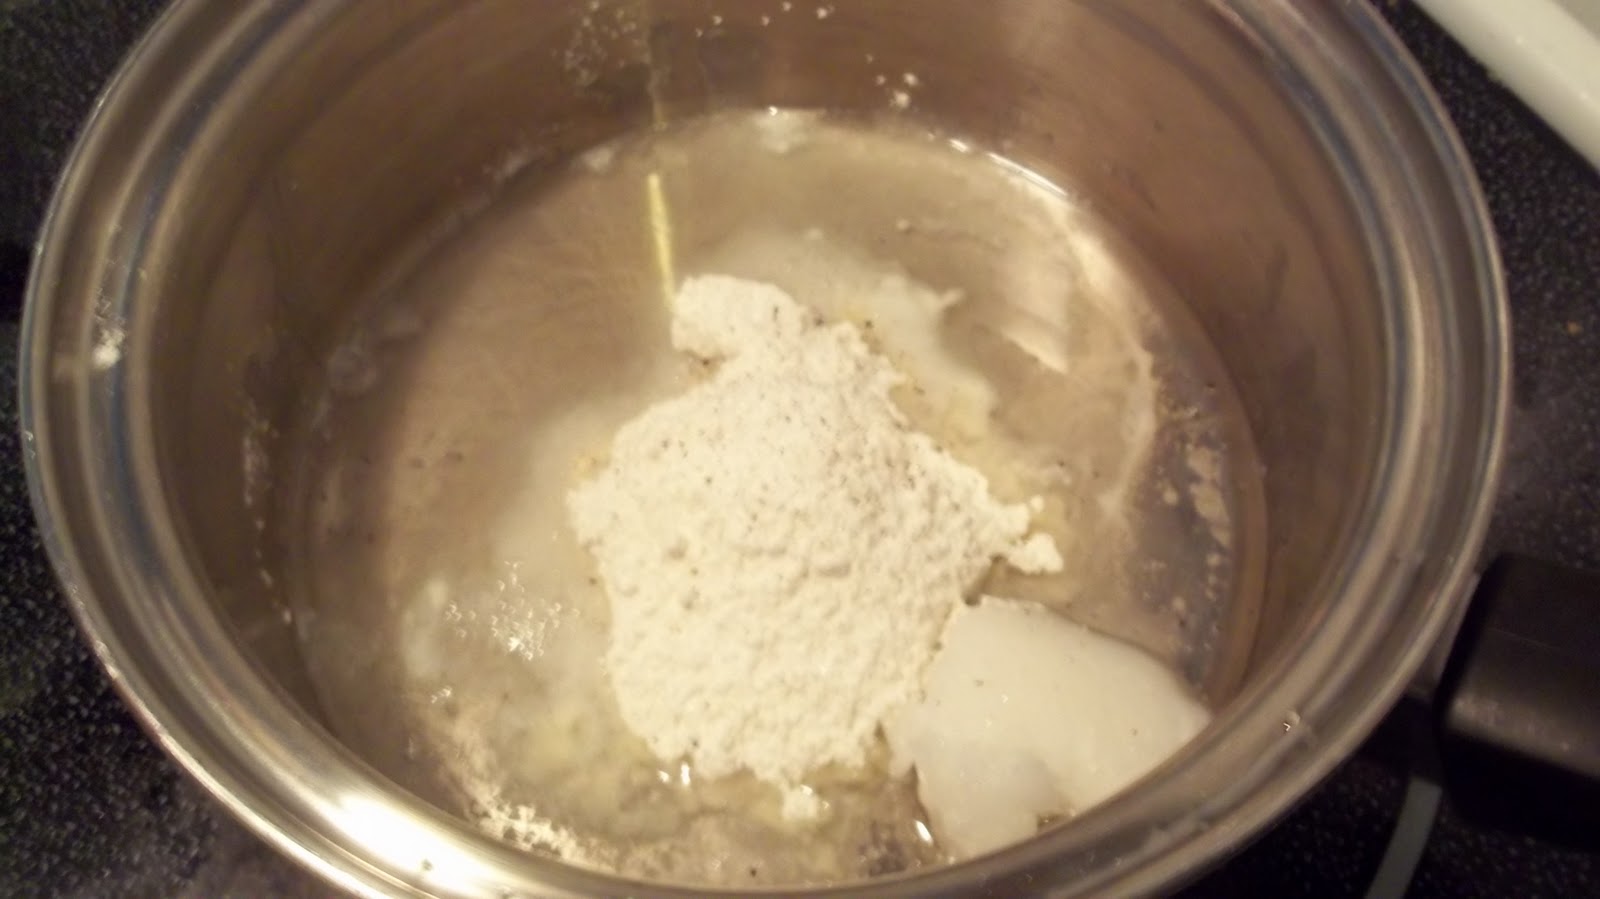
Melt the butter in a heavy saucepan, add the flour, salt and pepper. Stir until well blended. Slowly add the milk stirring constantly. Cook until smooth. Chop the hard-boiled eggs and stir them into the sauce. Serve on hot toast.
(this was taken from The Amish Cook by Elizabeth Coblentz)
Stir until smooth
Add milk
Add chopped eggs
Dump all the eggs in
Stir it all up
Yah, you like my toast don't ya? I got this toaster YEARS ago from my parents, one side has Winnie the Pooh and the other Tigger! ;) anyways, get your toast ready....
Put a nice big spoonful or two of the creamed eggs on top of the toast
Cut up and enjoy!!! :)
Friday, November 4, 2011
Apple Nachos
OH MY!! YUMMY!!!!!!!!!! :oP We GOBBLED these up RIGHT away! The cool thing about this, you can make these a few different ways! I made them a bit healthy tonite, just because we had fried chicken in the Chinese Lemon Chicken....
Yes, peanut butter isn't 100% healthy, but it is a bit better than using caramel sauce! ;)
I'm not gonna write out the recipe, because it will vary from person to person.. But here's what you will need,
Sharp Knife
Apples, how many ever you want/need, I used 3 tonite.... (I had 3 different kinds of apples too, one small, one medium and one large! ;))
Peanut butter, warmed in a bowl (for those of you allergic to peanuts, you could use sunflower butter)
Mini chocolate chips
Cut your apple in slices, warm the peanut butter and drizzle how much you want all over the apples, then sprinkle the mini chocolate chips on top! ;)
Then EAT and enjoy!!! :)
You could also use chocolate sauce, and then sprinkle peanut butter chips on top....
Or:
Drizzle caramel sauce all over, sprinkle mini chocolate chips on top, and then make some whipping cream and put little dollops all over! ;)
Really, the possibilities are endless for these nachos!
Seriously, try them and let me know what combo you use! I'm curious if there are any other combos!
Oh one more I forgot.. Hubby said to drizzle peanut butter, then sprinkle raisins and mini chocolate chips all over.... ;)
Yes, peanut butter isn't 100% healthy, but it is a bit better than using caramel sauce! ;)
I'm not gonna write out the recipe, because it will vary from person to person.. But here's what you will need,
Sharp Knife
Apples, how many ever you want/need, I used 3 tonite.... (I had 3 different kinds of apples too, one small, one medium and one large! ;))
Peanut butter, warmed in a bowl (for those of you allergic to peanuts, you could use sunflower butter)
Mini chocolate chips
Cut your apple in slices, warm the peanut butter and drizzle how much you want all over the apples, then sprinkle the mini chocolate chips on top! ;)
Then EAT and enjoy!!! :)
You could also use chocolate sauce, and then sprinkle peanut butter chips on top....
Or:
Drizzle caramel sauce all over, sprinkle mini chocolate chips on top, and then make some whipping cream and put little dollops all over! ;)
Really, the possibilities are endless for these nachos!
Seriously, try them and let me know what combo you use! I'm curious if there are any other combos!
Oh one more I forgot.. Hubby said to drizzle peanut butter, then sprinkle raisins and mini chocolate chips all over.... ;)
Quinoa Porridge
I honestly wasn't too sure about this. I haven't been rinsing my quinoa like all the recipes say you are supposed too. But this time I did, and I'm not gonna lie, I really did notice a difference! So from here on out, I'll be taking the time to rinse those little tiny things! ;)
I just took a coffee filter and placed it inside a strainer, then poured in how much qunioa I wanted in the strainer. Then put it under the faucet to rinse it. Pretty easy! ;)
The kids really liked this! My lil man didn't gobble it down like his older sisters and brother did, but he did eat some of it! ;) I ate a small bowl and liked it!
You could put anything in this porridge! I used cinnamon, an apple and raisins and chopped walnuts.
This is actually pretty easy too! The health benefits of quinoa are just awesome! :)
Rinsed the qunioa, placed it in my water, brought it to a boil, then put the lid on and simmered it for 15 minutes. The whole time I was in and out of the shower, perfect timing! :) Once the 15 minutes were up, I poured in the goodies, then about 1 cup of milk. Let it simmer for a few more minutes, and viola, it's done! :) If you wanted it to be sweet, you could add a bit of pure maple syrup or honey. i did not add any of that and I was able to eat it! So that tells you something! ;)
You could add fresh peaches, strawberries, blueberries, or you could do applesauce and cinnamon, really, anything goes! ;)
Qunioa Porridge
1 cup rinsed quinoa
2 cups water
1 - 1 1/2 cups milk
and any "toppings" you want.... apples, cinnamon, chopped walnuts, raisins, cranberries, any other dried fruit or any other fresh fruit
Bring the qunioa and water to a boil, uncovered, once boiling, turn down heat to a simmer and simmer with the lid on for 15 minutes. If the water hasn't absorbed completely, that's ok... ;) Add your toppings and milk and simmer until desired porridge consistency!
Yummy and easy! You could make this the nite before and just heat up in the morning for a fast breakfast!
Let me know if you try it and what combo of toppings you use! :)
Quinoa before the boil...
Quinoa after the boil and simmer for 15 minutes
All toppings in the pot, I left the skin on the apples... not only is it pretty, but there is many health benefits to leaving the skin on! ;)
Toppings and milk added
All stirred up, needs to simmer for a bit...
I probably shouldn't have let it cook as long, but with little kids fighting in the morning, I kinda had to let it cook a bit longer... I could've added a bit more milk, but they were ready to eat! ;)
I just took a coffee filter and placed it inside a strainer, then poured in how much qunioa I wanted in the strainer. Then put it under the faucet to rinse it. Pretty easy! ;)
The kids really liked this! My lil man didn't gobble it down like his older sisters and brother did, but he did eat some of it! ;) I ate a small bowl and liked it!
You could put anything in this porridge! I used cinnamon, an apple and raisins and chopped walnuts.
This is actually pretty easy too! The health benefits of quinoa are just awesome! :)
Rinsed the qunioa, placed it in my water, brought it to a boil, then put the lid on and simmered it for 15 minutes. The whole time I was in and out of the shower, perfect timing! :) Once the 15 minutes were up, I poured in the goodies, then about 1 cup of milk. Let it simmer for a few more minutes, and viola, it's done! :) If you wanted it to be sweet, you could add a bit of pure maple syrup or honey. i did not add any of that and I was able to eat it! So that tells you something! ;)
You could add fresh peaches, strawberries, blueberries, or you could do applesauce and cinnamon, really, anything goes! ;)
Qunioa Porridge
1 cup rinsed quinoa
2 cups water
1 - 1 1/2 cups milk
and any "toppings" you want.... apples, cinnamon, chopped walnuts, raisins, cranberries, any other dried fruit or any other fresh fruit
Bring the qunioa and water to a boil, uncovered, once boiling, turn down heat to a simmer and simmer with the lid on for 15 minutes. If the water hasn't absorbed completely, that's ok... ;) Add your toppings and milk and simmer until desired porridge consistency!
Yummy and easy! You could make this the nite before and just heat up in the morning for a fast breakfast!
Let me know if you try it and what combo of toppings you use! :)
Quinoa before the boil...
Quinoa after the boil and simmer for 15 minutes
All toppings in the pot, I left the skin on the apples... not only is it pretty, but there is many health benefits to leaving the skin on! ;)
Toppings and milk added
All stirred up, needs to simmer for a bit...
I probably shouldn't have let it cook as long, but with little kids fighting in the morning, I kinda had to let it cook a bit longer... I could've added a bit more milk, but they were ready to eat! ;)
Thursday, November 3, 2011
Whipped Maple Apple Dip
I found this on Pinterest!
Anyone else somewhat addicted to it (Pinterest)? Well, I really can't be, I don't have a whole lot of spare time... I usually just go through a few categories and hit like and repin if it's something I want to remember! ;) SOOOOOO many cool ideas on there!
Anyways, I did find this on there. SOOOOO good! The kids GOBBLED this down! We had just gotten some fresh apples from the farm, so it was PERFECT to make this for their snack that nite!
REALLY easy too! :) REALLLLLY good on FRESH from the tree or farm apples! :oP
Whipped Maple Apple Dip
1 cup heavy whipping cream
1-2 tablespoons pure maple syrup (none of that fake "pancake" syrup stuff! ;))
Whip cream and syrup together in a mixer with the whisk until it's whipped topping. Serve with apples of graham crackers.
Super good and easy!! :)
If there are any leftovers, you can store them in the frig for 1-2 days.
I had no leftovers, so no need to store any! ;)
Try it and let me know how you like it! SOOOO good and easy!!! :D
My kids LOOOOOOVED it!!! :D
Anyone else somewhat addicted to it (Pinterest)? Well, I really can't be, I don't have a whole lot of spare time... I usually just go through a few categories and hit like and repin if it's something I want to remember! ;) SOOOOOO many cool ideas on there!
Anyways, I did find this on there. SOOOOO good! The kids GOBBLED this down! We had just gotten some fresh apples from the farm, so it was PERFECT to make this for their snack that nite!
REALLY easy too! :) REALLLLLY good on FRESH from the tree or farm apples! :oP
Whipped Maple Apple Dip
1 cup heavy whipping cream
1-2 tablespoons pure maple syrup (none of that fake "pancake" syrup stuff! ;))
Whip cream and syrup together in a mixer with the whisk until it's whipped topping. Serve with apples of graham crackers.
Super good and easy!! :)
If there are any leftovers, you can store them in the frig for 1-2 days.
I had no leftovers, so no need to store any! ;)
Try it and let me know how you like it! SOOOO good and easy!!! :D
My kids LOOOOOOVED it!!! :D
Monday, October 17, 2011
Frosty
This is by NO means healthy! BUT, it's really good! There really are only 3 ingredients, 4 if you count ice. I found a recipe like this on pinterest, but I did it a bit differently.
I used my Vita-mix, but you don't need a vita-mix to make this, jsut a blender that does a good job at chopping ice! ;)
The kids LOVED this! Ok, I'm not gonna lie, I LOVED it! It's been soooo long since I had a "real" Wendy's frosty, I don't remember how they taste, but when I took a bite of this, I thought it tasted pretty much like the real deal! ;)
The first time I made this, I added enough ice to make it thick. I used my Vita-Mix for this. I just added all the ingredients and added enough ice that I thought would make it thick enough. It was a little bit on the soft side, but it still tasted REALLY good!
I just made this for our small group and did everything the same, but I put it in the freezer to firm up a bit more. It took about 3-4 hours to get the right consistency of the frosty. But it also depends on how much ice you put in it. But it was PERFECT! Everyone really liked it, so I guess it passed! ;)
Frosty
can of sweetened condensed milk
half a gallon of chocolate milk
1 container of cool whip or off brand, or whatever you buy! ;) (it can be frozen or defrosted)
Ice (I used crushed ice, yes, I think you should use crushed ice too, if you don't have it, just make sure your blender is on long enough to crush it all! :))
Poor in half a can of sweetened condensed milk, half of the half gallon of chocolate milk, and the whole container of cool whip.
Blended until nice and smooth. Dump out half of the mixture (or if your blender won't hold that much, just do what it will hold! :)) and dump in the same amount of ice. For example, I had 2 cups worth of yumminess, so I added AT LEAST 2 cups of crushed ice. Blend until smooth, or the consistency you want! And EAT!!!!!! :) I'm pretty sure towards the end I added a bit more chocolate milk to get the consistency just right! Again, it's kind of a trial and error! ;)
(Don't forget to mix up the rest, OR you can put it back in the cool whip container and place in freezer until ready to use for the next time! ;))
I do recommend putting it in the freezer for a few hours, I personally think it tastes better! ;)
So for one can of sweetened condensed milk, a half gallon of chocolate milk and 2 containers of cool whip, I made enough to serve at least 20 people! I think I put in a total of maybe 6 bucks into the whole thing and it fed that many people! Pretty good! I think it's cheaper than a real frosty! If you really want to, make sure you bring home a cup and spoon from Wendy's, then place your home made frosty in that cup! ;) Also, don't forgot the Wendy's fries to dip in the frosty! YUMMY!! Man, I really wish I had the ingredients to make one because I'm getting myself really hungry for one! :)
Enjoy! Let me know if you make this and if you did anything different! Honest opinions here, I can take it! :)
Subscribe to:
Posts (Atom)