So I need some input from y'all!
I've had a few people ask me "how to enjoy cooking"? Some know how to cook, but they just don't like it, others don't know how to cook and don't even like to think about it!
I have no clue where or how I would start, but what I am asking is, would you read some ideas on how to really enjoy cooking? (I am way better at showing than writing, so this will be a challenge for me!)
Honestly, I don't know how soon I could put something together and how fast I would get it up, but would anyone be interested? Truthfully, I can take it! ;)
I am doing and offering cooking classes, so if you would like a one on one, I can do that as well.
One more question? ;) I was thinking about putting a group class together and give some cooking lessons that way... Would anyone be interested in that?
Let me know your thoughts...
Tuesday, January 11, 2011

Fettuccine Alfredo

This was my first "supper" recipe using my Vitamix! It turned out sooo good and was soooo easy!!!! You could make this in a regular blender, you would just have to cook your sauce a bit to get it warm before pouring it over your noodles.
You can also make this "low-fat" by using skim milk and fat free cream cheese.
 Pour your milk in...
 Then add your whole gloves of garlic (it calls for 2, but you know me, I just had to add more! ;))
 then add the flour
 The tablespoons of cream cheese
Parmesan cheese
 Here is the side view of it...
All mixed up hot and ready! You can't see it, but there is some major steam coming from this! It got it nice and hot and was ready to pour over my noodles!! :)
 Pour your sauce over your cooked noodles and
 Ta-da!!!!!!!! It was sooooooo good!!!!!!!!!! Here is our supper.... Steamed veggies and fettuccine Alfredo!!!
Fettuccine Alfredo
1 pound fettuccine noodles
2 1/3 cups milk
3 cloves garlic, peeled
2 tablespoons flour
4 tablespoons cream cheese
1 cup grated Parmesan cheese or Romano cheese (I used Parmesan)
a little bit of oil to pour over the noodles so they don't stick together (I used a little bit of coconut oil)
Cook your noodles in boiling water until done. Drain and pour oil over the top and toss to coat. Put the lid on top so they stay warm.
Place the rest of the ingredients in your Vitamix container in order listed and secure lid.
Select Variable 1.
Turn machine on and quickly increase speed to variable 10, then to high.
Blend for 5-6 minutes. Pour over cooked fettuccine and toss until well coated.
(I got this recipe from my Vitamix cookbook. It is supposed to be low-fat, but I didn't have any of the low fat ingredients like skim milk and fat free cream cheese! ;) I also used 3 cloves of garlic instead of 2 like the recipe calls for!)
For using your regular blender do the same thing with your noodles.
Place all the other ingredients in your blender and blend on high until thoroughly blended. Place in a pan and cook until hot. Do not let it come to a boil!
As soon as it's hot, pour over your noodles! (I am sure you could even put it in a microwave safe container and cook in the microwave until warm...)
Let me know who you like this! It's really easy and so very tasty! You could even add some cooked cut up chicken or shrimp to this! I served it this time with steamed veggies! It was all a hit!! :D
Monday, January 10, 2011
Cheeseburger Pizza

I made this one nite and my dear hubs was like, um, aren't you making pizza? I said yes, why? His reply, why are you putting PICKLES on the pizza? My response... I am making a cheeseburger pizza! That's what you put on cheeseburgers, right? He was a bit skeptical, but he did try it when it was done...
Let's just say his response was, oh wow, this is GOOD!!!! So the next time I made it, I put even more pickles on it! I was a bit hesitate with putting the pickles on, so I didn't put too many on, but it's sooooo good! And it's easy!!!
I normally have browned ground beef (you could use turkey if you want too!) in my freezer, and I always have the pickles... so all you have to do it break off a chuck of meat and then add the rest of the stuff! :)
For the sauce, it's ketchup and a little bit of hot sauce. If you want it more spicy, just add more hot sauce, but by adding a bit of hot sauce, it just adds a bit more flavor!

Mix the ketchup and hot sauce together
 Spread out your pizza dough...
or if you didn't make it, put your pizza crust on the stone or pan... ;)
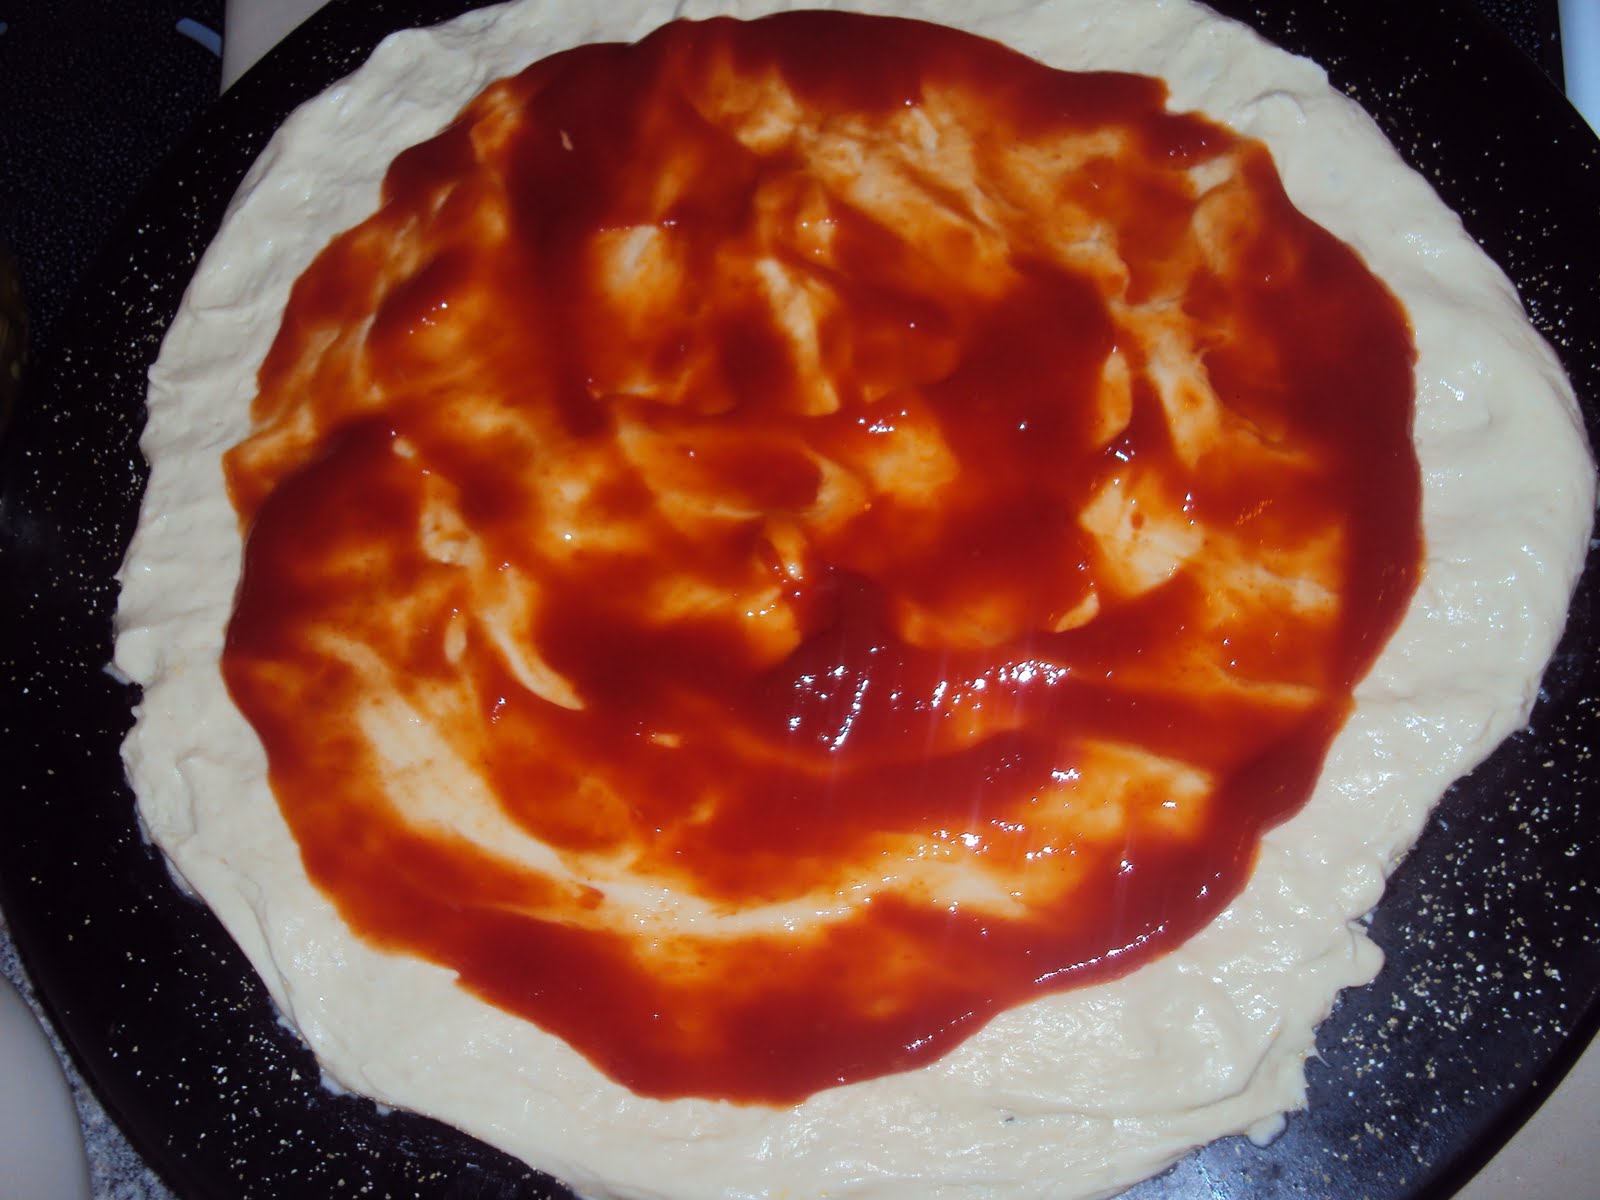 Spread on your "sauce", the ketchup mixture
 Layer the ground beef
 Then the onions
 Then the pickles, as many as you want!
 Then the shredded cheddar cheese, just enough to cover the top All done!
 Up close of the pickles and cheese... kinda blurry, but it's really good!!!!
Cheeseburger Pizza
Pizza Crust
Pizza Sauce:
1 cup ketchup
a couple shakes of hot sauce, more if you like it hotter!
For the pizza:
1 pound browned beef- or turkey - you may not even need that much, just depends on how much meat you want on it! ;)
1 small onion, chopped and diced
Sliced dill pickles - the amount depends on how many you want to put on!
Enough shredded cheddar cheese to cover your pizza
Combine the ketchup and hot sauce together and stir to combine. Spread over your pizza crust.
Then add the browned beef, onions and then add as many pickles as you want.
Then spread the shredded cheddar cheese over the top.
Cook until the cheese is melted and crust is a nice golden or lite brown.
Depending on what you use for your crust will depend on how long it will take to bake.
Enjoy!!!
Friday, January 7, 2011
About Time!!!
Wow, it's been a while, but I am ready to get going with my recipes!
We went home to Indiana right after Christmas! It was nice to go visit family, but yet, nice to be back home! It's been crazy getting back and into a routine! Next week will be starting school again!
My mom got us a Vita Mix for Christmas! I can't tell you how excited I am about it!!!!! :D
I will be doing some recipes using that, you can still use a regular blender on some things, but others may not work as great. Like the strawberry sherbert I made tonite for dessert. You may be able to mix it in a regular blender, then pop it in the freezer to harden a bit. I am not 100% sure though! ;)
Now onto the good stuff, the recipe! :D
My kids are not really into cottage cheese. Now, I've made that super unhealthy dessert that calls for cottage cheese, a box of jello, can of oranges, and cool whip, but as far as eating it by itself or even with peaches in it, they don't like it so much! So when I saw this recipe called for cottage cheese, I was gonna try it on them! I am not a huge fan of taking foods and hiding them in their meal and not tell them what they are eating! When I make a smoothie and put some spinach in it, I tell them! They think it's cool to eat a smoothie with spinach in it! So when I told them that they were eating cottage cheese pancakes, they were a little hesitate at first, but after that first bite, they GOBBLED them down!!!
I even tried them and thought they were really good!
 Beat 3 eggs
 Blend in the cottage cheese
 Add some vanilla
 Then some honey or agave nectar
 Whisk it all together...
 Add some flour and baking powder (I didn't add the salt)
 All mixed up!
 Grease a griddle or electric skillet... And using a 1/4 cup measuring cup, pour the batter onto the skillet/griddle
 What they will look like! Sooooo good!!! :)
Cottage Cheese Pancakes
3 Eggs
1 Cup Cottage Cheese
1 Tsp Vanilla Extract
2 Tbsp Honey or Agave
1/2 Cup Flour
1 Tsp Baking Powder
1/4 Tsp Salt
1. Place the first 4 ingredients in a bowl and whisk.
2. In a separate bowl whisk the dry ingredients.
3. Pour the dry mixture into the wet mixture and stir until just combined.
4. Heat a large sauté pan or griddle over medium heat, lightly coat with oil or butter and pour mixture onto the griddle.
5. Cook for 2 minutes on each side or until pancakes are set and golden.
6. Serve.
*To Freeze: Let pancakes come to room temperature, place in a ziploc bag, label and freeze up to 3 months.
We went home to Indiana right after Christmas! It was nice to go visit family, but yet, nice to be back home! It's been crazy getting back and into a routine! Next week will be starting school again!
My mom got us a Vita Mix for Christmas! I can't tell you how excited I am about it!!!!! :D
I will be doing some recipes using that, you can still use a regular blender on some things, but others may not work as great. Like the strawberry sherbert I made tonite for dessert. You may be able to mix it in a regular blender, then pop it in the freezer to harden a bit. I am not 100% sure though! ;)
Now onto the good stuff, the recipe! :D
My kids are not really into cottage cheese. Now, I've made that super unhealthy dessert that calls for cottage cheese, a box of jello, can of oranges, and cool whip, but as far as eating it by itself or even with peaches in it, they don't like it so much! So when I saw this recipe called for cottage cheese, I was gonna try it on them! I am not a huge fan of taking foods and hiding them in their meal and not tell them what they are eating! When I make a smoothie and put some spinach in it, I tell them! They think it's cool to eat a smoothie with spinach in it! So when I told them that they were eating cottage cheese pancakes, they were a little hesitate at first, but after that first bite, they GOBBLED them down!!!
I even tried them and thought they were really good!
 Beat 3 eggs
 Blend in the cottage cheese
 Add some vanilla
 Then some honey or agave nectar
 Whisk it all together...
 Add some flour and baking powder (I didn't add the salt)
 All mixed up!
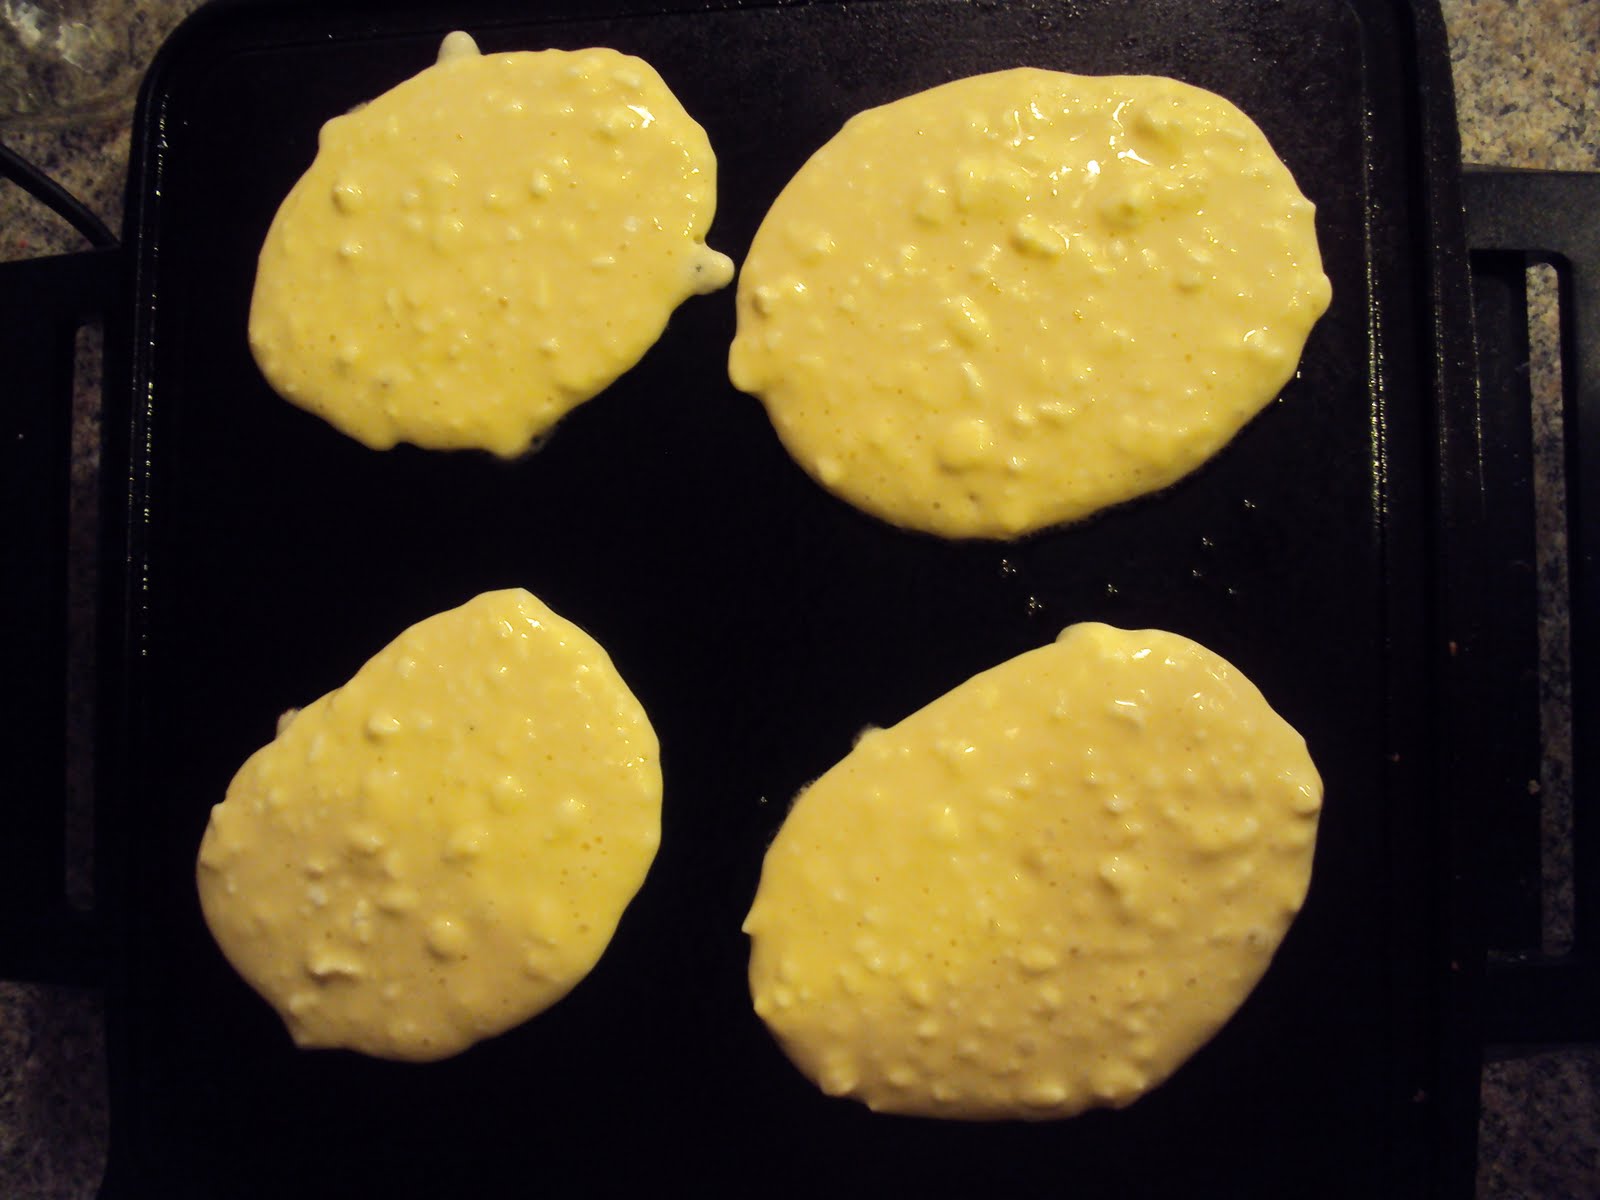 Grease a griddle or electric skillet... And using a 1/4 cup measuring cup, pour the batter onto the skillet/griddle
 What they will look like! Sooooo good!!! :)
Cottage Cheese Pancakes
3 Eggs
1 Cup Cottage Cheese
1 Tsp Vanilla Extract
2 Tbsp Honey or Agave
1/2 Cup Flour
1 Tsp Baking Powder
1/4 Tsp Salt
1. Place the first 4 ingredients in a bowl and whisk.
2. In a separate bowl whisk the dry ingredients.
3. Pour the dry mixture into the wet mixture and stir until just combined.
4. Heat a large sauté pan or griddle over medium heat, lightly coat with oil or butter and pour mixture onto the griddle.
5. Cook for 2 minutes on each side or until pancakes are set and golden.
6. Serve.
*To Freeze: Let pancakes come to room temperature, place in a ziploc bag, label and freeze up to 3 months.
Friday, December 10, 2010
Mandy's Crunchy/Clumpy Granola
So I was looking at a few different recipes for granola and didn't find one that actually really clumps together. I LOVE and I mean L-O-V-E to snack on granola! There are days where I don't get to eat lunch, but I will either grab a homemade granola bar or a few handfuls of granola... ok, sometimes both.... But it really gives me that energy that I need to get through the day when I don't have the time to sit and eat lunch.
Sure, I feed my kids, I make them sit down and eat, and I know, I should practice the same thing, but I'm tellin' ya... There just are days when I can not do that!
So after looking at a few recipes and remembering the one that I make ALLLL the time, which is tried and true... It's really good, but it just doesn't make those clumps that I like. So... I experimented and gave some of it away and they told me it was good. Along with my kids, but my kids don't count, they eat anything and like pretty much anything! ;)
You will need a glass Pyrex measuring cup for this, or something that is clear and you can heat in the microwave.
It's how I did my measuring, I know, maybe not the best method, but it worked! :)
Sure, I feed my kids, I make them sit down and eat, and I know, I should practice the same thing, but I'm tellin' ya... There just are days when I can not do that!
So after looking at a few recipes and remembering the one that I make ALLLL the time, which is tried and true... It's really good, but it just doesn't make those clumps that I like. So... I experimented and gave some of it away and they told me it was good. Along with my kids, but my kids don't count, they eat anything and like pretty much anything! ;)
You will need a glass Pyrex measuring cup for this, or something that is clear and you can heat in the microwave.
It's how I did my measuring, I know, maybe not the best method, but it worked! :)
 3 cups oats, quick cooking is what I used b/c I only have about 50 pounds of it! ;)
 Take your clear Pyrex measuring cup and put it any combo of things you want in your granola. I used un-sweetened coconut, a mixture of dried cherries, craisins and diced up dried apples, then to top it off, peanuts, not chopped. Put it in to measure 2 cups, you can use ANY combo of items you want! You could nix the coconut, or just use 1 cup dried fruit and 1 cup peanuts.. whatever you wish, you use! :)
 Dump into the bowl with the oats and stir to combine
 I then grabbed my 100% PURE Maple syrup.... Dump in about 1/2 a cup in your clear Pyrex measuring cup that you just used...
 And then grab your brown sugar. You could use regular, but then it wouldn't be as "healthy"! So I tried using my organic light brown sugar...
 I dumped in 2 heaping tablespoons of that stuff... Ya know, grab your soup spoon and use that to measure! ;)
 next grab some vanilla... I didn't measure but it was right about 1 to 1 1/2 teaspoons of vanilla. (this is the GOOD stuff from Mexico, yummy!!!!)
 Ok, by now this is where your measurements should be at. You see it's right under the 1 cup line....
 Next I grabbed my coconut oil and filled it to make it to the 1 cup line. So I put in right about 1/4 cup.... Stir it up using a small whisk and pop that whole Pyrex in the the microwave for a minute, just enough to heat it up and get that sugar dissolved. If it still isn't dissolved, put it in the microwave for 30 seconds, stir, and that should do the trick. But you should be fine after 1 minute! ;)
 Dump the liquids over the top of your oats mixture...
 Stir to combine....
 Place the granola onto a foil covered cookie sheet.
 Cover your cookie sheet, but press down the edges, and place in the oven at 250 degrees. Bake for an hour with it covered, then take off the foil and cook for another 15 minutes. Let it cool, then break the pieces apart...
It's sooo easy and sooooooooooooooo good! I just had a bowl of it for my breakfast, so tasty!!! And healthy! ;)
I forgot to take a pic of my "after", so will be making it again and will take a picture! ;)
Enjoy and let me know what you think!! :D
Thursday, December 9, 2010
Homemade Hot Cocoa
I don't have any pictures for this because I was in a hurry and in all honesty, wasn't sure if it was going to turn out!
I don't have exact measurements, but this is what I did.... ;)
1 1/2 - 2 cups non-fat dry powered milk
1 cup powdered sugar
1 cup baking cocoa powder
1 cup semi-sweet or white chocolate chips chopped in a food processor
Place all ingredients in a bowl and mix thoroughly.
Store in an airtight container for up to 3 months.
To make hot cocoa...
Fill a mug full of HOT or boiling water. Place 1/3 cup of the cocoa mix into the mug and stir...
Be careful because it will be hot!
You can add some whipped topping, marshmallows or a candy cane to this. Stir it up really good and enjoy! Mmm.... nothing like a homemade hot cup of cocoa!
The kids didn't call it hot chocolate like they do the store bought kind, but they call this HOT COCOA!!! :D enjoy and let me know what you think!
Sorry there aren't any pictures.... :(
I don't have exact measurements, but this is what I did.... ;)
1 1/2 - 2 cups non-fat dry powered milk
1 cup powdered sugar
1 cup baking cocoa powder
1 cup semi-sweet or white chocolate chips chopped in a food processor
Place all ingredients in a bowl and mix thoroughly.
Store in an airtight container for up to 3 months.
To make hot cocoa...
Fill a mug full of HOT or boiling water. Place 1/3 cup of the cocoa mix into the mug and stir...
Be careful because it will be hot!
You can add some whipped topping, marshmallows or a candy cane to this. Stir it up really good and enjoy! Mmm.... nothing like a homemade hot cup of cocoa!
The kids didn't call it hot chocolate like they do the store bought kind, but they call this HOT COCOA!!! :D enjoy and let me know what you think!
Sorry there aren't any pictures.... :(
Monkey Scramblers

This was a fun and pretty easy recipe to do! I was a little late at getting breakfast this morning, so I wanted something fast, but yet healthy. Fast and healthy, not always easy!
This was fast getting it all mixed up, but I did have to "fry" it, so that took a little bit. But really, it wasn't bad. I only did one in the pan at a time, if you have a bigger pan, you can do more...
I had homemade white bread, so that part wasn't super healthy, but it was homemade, so in that respect, it was healthy! ;) You could put this on any type of bread you have or even a whole wheat english muffin!
You can also grind up your flax seeds, but I didn't take the time for that. The only way I can grind them is by using my coffee grinder and frankly, I was just plain too lazy to clean that thing out to put in a few flax seeds! They have eaten them whole in a corn chip, so I know they could handle this! (My mom had picked up some flax seed corn chips that they LOVE, I am wondering I can figure out how to make something like that....)If you don't have flax seeds, that's fine too, but they are healthy.
Flax seed is high in most of the B vitamins, magnesium, and manganese, but this little seed is just getting started. There are three additional nutrient groups which flax seed has in abundance, and each has many benefits.
Flax Seed is Rich in Omega-3 Fatty Acids, High in Fiber, High in Phytochemicals.
Anything that is rich in omega 3's and high in fiber is a plus in my book! :) But if you are eating alot of things with fiber, make sure you are drinking lots of liquid or you may get a little, um, ya know, I'm just gonna say it, constipated! And that's no fun... ok, now we've had enough info on this, let's get to the recipe!
I didn't get to take a pic after every time I dumped something in the bowl, my battery was running on low, no, not low, but running on dead and knew I only a few pictures to take before it was dead and would have to charge the battery, and I didn't have time for that! :)

Mix, mashed bananas, oatmeal, flax seed, cinnamon, milk and peanut butter together...
 Then add the chocolate chips, but if you don't want them, skip this part... But if you making them for your monkeys, I bet they will really appreciate a few chocolate chips in their morning breakfast! :)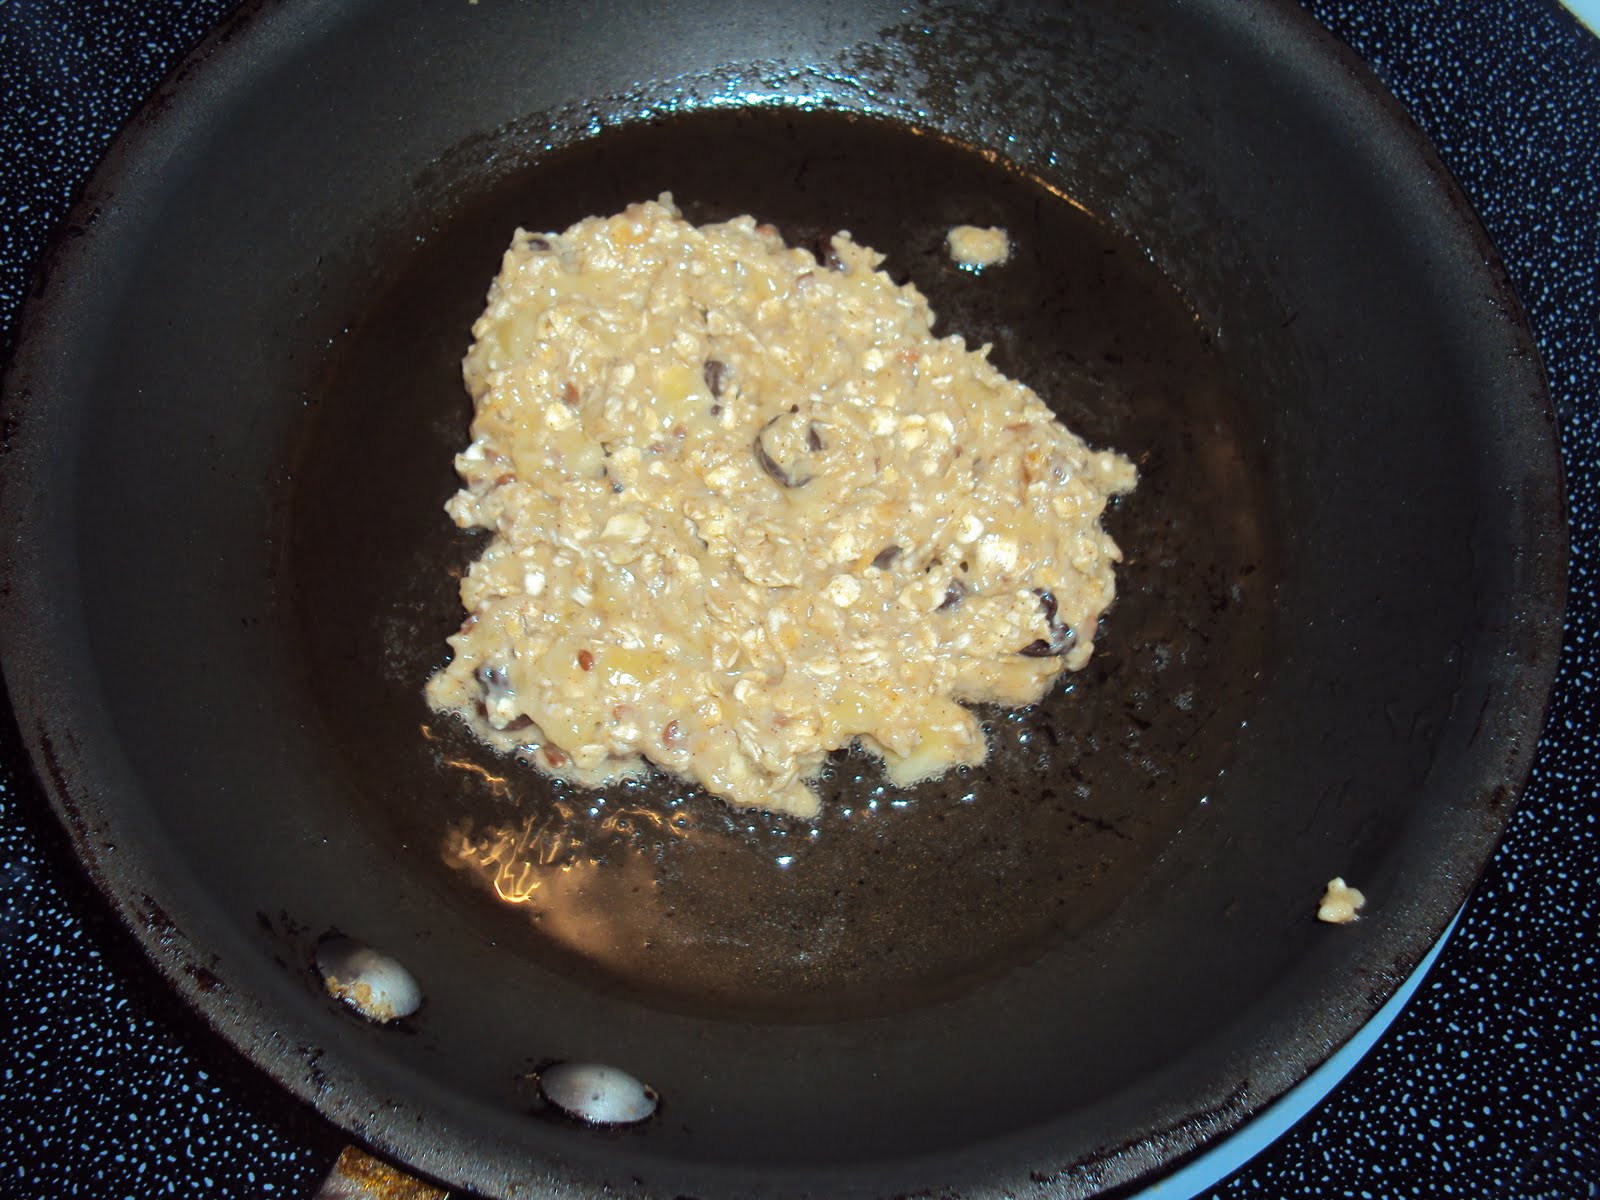
Place one spoonful on light greased pan and cook for about 5 minutes or until lightly golden brown...
 As you can see, mine got a bit dark, but my monkey's didn't complain... they were just overjoyed that I actually added some CHOCOLATE CHIPS to their breakfast! ;)
 Once the other side is done, place it on a piece of toast... again, mine was white, but it was homemade, so it was ok.... ;) And rally those monkeys of yours and enjoy!! ;)
Monkey Scramblers
•2 bananas
•1/2 c. oats
•4 T. non-dairy or organic milk
•2 T. natural peanut butter
•1-2 T. ground flax
•dash of cinnamon
•1-2 heaping T. chocolate chips
•4-5 slices whole wheat bread, toasted
Mash together banana, oats, milk, peanut butter, flax and cinnamon. Fold in chocolate chips. Place a spoonful of batter into a skillet that has been coated with coconut oil and placed over medium heat. Cook for 5 minutes on each side, or until scrambles are starting to brown, and then flip and cook for a few minutes more. When scrambles are cooked through, place each on a slice of toasted bread. Then rally your monkeys! Mine sure enjoyed it! Infact, they want it again for breakfast tomorrow! ;)
*You can use regular milk if you like....You can also omit the chocolate chips, but a little chocolate in the morning isn't going to hurt them! It's just those sugar coated cereals that aren't healthy for them!
(I actually tried it too... you know me and oatmeal, NOT my fav, but will eat granola and granola bars.... So I tried it, it was pretty good! Personally, I'd need to put a few more chocolate chips in it, but it was good!!! ;))
Subscribe to:
Posts (Atom)