Friday, January 14, 2011

Hummus Wraps


I made some hummus the other day for my kids lunch, but I wanted to do something other than just crackers and veggies with it. I was racking my brain as to what I could do with it. I saw that I had some small flour tortillas, then my I was like, hmm, they like refried beans in the tortilla, why not use the hummus and bit of cheese and fry it up!

So that's exactly what I did and held my breath as I tried it. ;) I thought, wow, this is really good! So I served it to all my kids and they LOVED it! They all ate 2 hummus tortillas! Plus the half of a pear I served with it! It's for sure a make again in this house!

Can't wait to try this with different hummus combo's that I make!!!


Place as much hummus as you want on your tortilla

Then add some shredded cheddar cheese, again, as much or as little as you want! I just like the cheese melting out of mine when I make it for me! ;)


Fold up the right side

Then the bottom


Then the left


Then fold the top down


Spread a little bit of coconut oil on the side that has the seams


Place seam side down in frying pan


Then while that side it cooking, spread a little bit of coconut oil on the top
Then flip and cook until cheese is melted or lightly brown!

Serve with whatever else you like! This time I served it with a pear!


The inside...


This is another way you can roll it, and cook the same way!


Hummus Wraps


Tortilla - as many as you want and any kind you want!
Hummus - any kind you want and as much as you want!
Shredded cheddar cheese

Take your tortilla and place a big spoonful of hummus on it. Then put a little bit of shredded cheddar cheese. Roll it up, either way the picture shows, then place a bit of coconut oil on one side of the tortilla. Place the oil side down in the frying pan, heat until the tortilla is light brown. Before flipping it over, spread some more coconut oil on the side that's facing up. Then flip it over until the other side is nice and golden brown, and the cheese is nicely melted.
Enjoy!!!

Thursday, January 13, 2011

Eggs Baked in Ramekins


I got it! I got the Julia Childs cookbook set!!! You know, the Art of French Cooking Vol 1 and 2!!!!! :D It was on sale and I got a gift card, so, guess what I used the gift card on!?!?

I had been looking at these cookbooks for some time now, but didn't want to spend that much money on them... since they were 50% off, and I had the gift card, I thought why not?

So the first recipe I made was this one!

The kids, well, ok, not my youngest, but the other 3 really liked this! They like dipping their toast in the egg yolk!

I did cook theirs a bit longer than the recipe said, I just didn't want all that "snotty" stuff from the eggs, they are a bit picky about that. Maybe I am to blame on that one? I hate "snotty" eggs! I do like the egg yolk, but the rest has to be cooked! ;)

Follow the pictures, it's really easy to make! And it's really good!!! :D

The note in the book says, to make sure you put the ramekins in a pan of boiling water before placing it in the oven... If you don't, the intense heat of the oven will toughen the outside layer before the inside of the egg has cooked... ;)


Place a bit of butter in your ramekin or pyrex


Spread it around with your fingers


This is what mine looked liked! It was a bit messy, but oh so fun!!! ;)


Pour in some whipping cream


Here are all 6 of mine sitting the pan of hot water

All my eggs in there now. Notice I have one with 2? Just so you can see that you can get 2 eggs in one ramekin! ;)


Up close of the egg and cream


Up close of the 2 eggs and cream


Here's the finished product!!! Some whole wheat toasted bread and my egg off to the side, topped with salt and pepper! I'm not gonna lie, it was soooo good! ;)


Eggs Baked in Ramekins

For each serving you will need:

1/2 tsp of butter
1 ramekin 2 1/2 to 3 inches in diameter and about 1 1/2 inches high
2 TB whipping cream
A pan containing 3/4 inch of simmering water
1 or 2 eggs

Preheat oven to 375 degrees.
Butter the ramekin, saving a dot for later.
Add 1 tablespoon whipping cream and set the ramekin in the simmering water over moderate heat. When the cream is hot, break into it one or two eggs. Pour the remaining spoonful of cream over the top and top with a dot of butter.
Place in middle level of the hot oven and bake for 7 to 10 minutes. The eggs are done when they are just set, but still tremble slightly in the ramekins. They will set a little bit more when the ramekins are removed, so they should not be overcooked.
Season with salt and pepper and serve.

The ramekins may remain in the pan of hot water, out of the oven, for 10-15 minutes before serving. To prevent overcooking, remove eggs from oven when slightly underdone.


Now that I am writing this out, I notice that I didn't do one of the steps... opps... I didn't have my pan sitting over moderate heat to heat the whipping cream. I just pour my hot boiling water in the pan and then set the ramekins in the pan. Hope that makes sense? ;)
E-mail me with any questions!!!!
mandysboxofgoodies@gmail.com

Enjoy!!!

Wednesday, January 12, 2011

Dried Tomato Hummus


This isn't the first time that I've made hummus....

But, it IS the first time I've made it in my Vitamix!! ;) It can be made in a regular blender or a food processor. I had a very small baby food processor that I used to make it before the Vitamix.

If you like Hummus, then you've got to make it! Not only is it healthier, but it's cheaper!!!

You can also put pretty much anything in this! I am stuck on the dried tomato with garlic right now! The kiddos really like it too!!!

You can also buy cans of garbanzo beans, or you can buy the dried ones and soak them... I haven't tried soaking them yet, but want to try it that way too!


Add all ingredients to blender and blend until the consistency you want!


Viola! All done!


Sooooo good!!! :D

Dried Tomato and Garlic Hummus

1 can garbanzo beans, half of the juice still in can
1 -2 cloves of garlic
1/2 teaspoon dry mustard powder (you don't have to add this if you don't want too)
5 dried tomatoes (I just bought a small jar of it and dig out a few of them! You can add more of less!)

Add all ingredients into blender and blend until the consistency you want. Just add a bit of water if you need it a bit more thin.

Serve with crackers, veggies, chips, or on a tortilla!

Tuesday, January 11, 2011

Cooking "Lessons"

So I need some input from y'all!

I've had a few people ask me "how to enjoy cooking"? Some know how to cook, but they just don't like it, others don't know how to cook and don't even like to think about it!

I have no clue where or how I would start, but what I am asking is, would you read some ideas on how to really enjoy cooking? (I am way better at showing than writing, so this will be a challenge for me!)

Honestly, I don't know how soon I could put something together and how fast I would get it up, but would anyone be interested? Truthfully, I can take it! ;)

I am doing and offering cooking classes, so if you would like a one on one, I can do that as well.

One more question? ;) I was thinking about putting a group class together and give some cooking lessons that way... Would anyone be interested in that?

Let me know your thoughts...

Fettuccine Alfredo


This was my first "supper" recipe using my Vitamix! It turned out sooo good and was soooo easy!!!! You could make this in a regular blender, you would just have to cook your sauce a bit to get it warm before pouring it over your noodles.

You can also make this "low-fat" by using skim milk and fat free cream cheese.


Pour your milk in...


Then add your whole gloves of garlic (it calls for 2, but you know me, I just had to add more! ;))


then add the flour


The tablespoons of cream cheese


Parmesan cheese

Here is the side view of it...


All mixed up hot and ready! You can't see it, but there is some major steam coming from this! It got it nice and hot and was ready to pour over my noodles!! :)

Pour your sauce over your cooked noodles and


Ta-da!!!!!!!! It was sooooooo good!!!!!!!!!!


Here is our supper.... Steamed veggies and fettuccine Alfredo!!!


Fettuccine Alfredo

1 pound fettuccine noodles
2 1/3 cups milk
3 cloves garlic, peeled
2 tablespoons flour
4 tablespoons cream cheese
1 cup grated Parmesan cheese or Romano cheese (I used Parmesan)
a little bit of oil to pour over the noodles so they don't stick together (I used a little bit of coconut oil)

Cook your noodles in boiling water until done. Drain and pour oil over the top and toss to coat. Put the lid on top so they stay warm.
Place the rest of the ingredients in your Vitamix container in order listed and secure lid.
Select Variable 1.
Turn machine on and quickly increase speed to variable 10, then to high.
Blend for 5-6 minutes. Pour over cooked fettuccine and toss until well coated.

(I got this recipe from my Vitamix cookbook. It is supposed to be low-fat, but I didn't have any of the low fat ingredients like skim milk and fat free cream cheese! ;) I also used 3 cloves of garlic instead of 2 like the recipe calls for!)

For using your regular blender do the same thing with your noodles.
Place all the other ingredients in your blender and blend on high until thoroughly blended. Place in a pan and cook until hot. Do not let it come to a boil!
As soon as it's hot, pour over your noodles! (I am sure you could even put it in a microwave safe container and cook in the microwave until warm...)

Let me know who you like this! It's really easy and so very tasty! You could even add some cooked cut up chicken or shrimp to this! I served it this time with steamed veggies! It was all a hit!! :D

Monday, January 10, 2011

Cheeseburger Pizza


I made this one nite and my dear hubs was like, um, aren't you making pizza? I said yes, why? His reply, why are you putting PICKLES on the pizza? My response... I am making a cheeseburger pizza! That's what you put on cheeseburgers, right? He was a bit skeptical, but he did try it when it was done...

Let's just say his response was, oh wow, this is GOOD!!!! So the next time I made it, I put even more pickles on it! I was a bit hesitate with putting the pickles on, so I didn't put too many on, but it's sooooo good! And it's easy!!!

I normally have browned ground beef (you could use turkey if you want too!) in my freezer, and I always have the pickles... so all you have to do it break off a chuck of meat and then add the rest of the stuff! :)

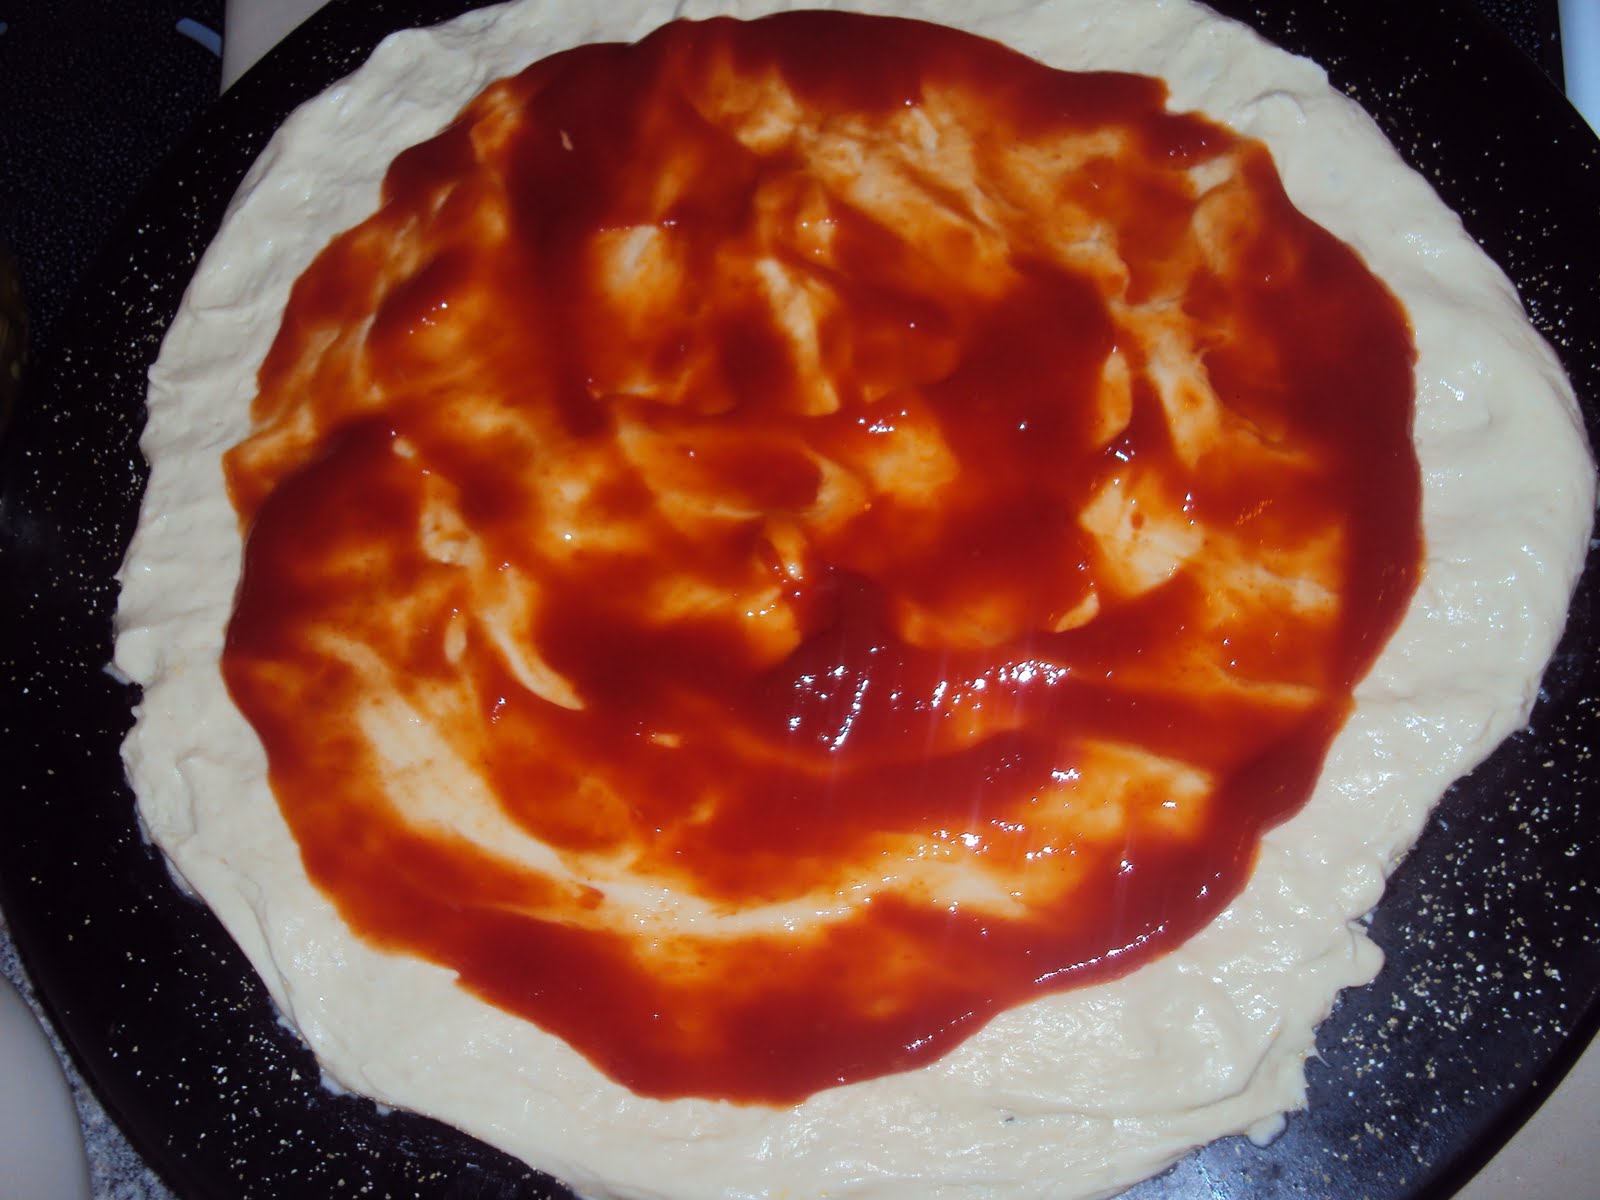
For the sauce, it's ketchup and a little bit of hot sauce. If you want it more spicy, just add more hot sauce, but by adding a bit of hot sauce, it just adds a bit more flavor!


Mix the ketchup and hot sauce together

Spread out your pizza dough...
or if you didn't make it, put your pizza crust on the stone or pan... ;)


Spread on your "sauce", the ketchup mixture


Layer the ground beef


Then the onions


Then the pickles, as many as you want!


Then the shredded cheddar cheese, just enough to cover the top


All done!


Up close of the pickles and cheese... kinda blurry, but it's really good!!!!


Cheeseburger Pizza


Pizza Crust

Pizza Sauce:

1 cup ketchup
a couple shakes of hot sauce, more if you like it hotter!

For the pizza:

1 pound browned beef- or turkey - you may not even need that much, just depends on how much meat you want on it! ;)
1 small onion, chopped and diced
Sliced dill pickles - the amount depends on how many you want to put on!
Enough shredded cheddar cheese to cover your pizza

Combine the ketchup and hot sauce together and stir to combine. Spread over your pizza crust.
Then add the browned beef, onions and then add as many pickles as you want.
Then spread the shredded cheddar cheese over the top.

Cook until the cheese is melted and crust is a nice golden or lite brown.

Depending on what you use for your crust will depend on how long it will take to bake.
Enjoy!!!

Friday, January 7, 2011

About Time!!!

Wow, it's been a while, but I am ready to get going with my recipes!

We went home to Indiana right after Christmas! It was nice to go visit family, but yet, nice to be back home! It's been crazy getting back and into a routine! Next week will be starting school again!

My mom got us a Vita Mix for Christmas! I can't tell you how excited I am about it!!!!! :D

I will be doing some recipes using that, you can still use a regular blender on some things, but others may not work as great. Like the strawberry sherbert I made tonite for dessert. You may be able to mix it in a regular blender, then pop it in the freezer to harden a bit. I am not 100% sure though! ;)

Now onto the good stuff, the recipe! :D

My kids are not really into cottage cheese. Now, I've made that super unhealthy dessert that calls for cottage cheese, a box of jello, can of oranges, and cool whip, but as far as eating it by itself or even with peaches in it, they don't like it so much! So when I saw this recipe called for cottage cheese, I was gonna try it on them! I am not a huge fan of taking foods and hiding them in their meal and not tell them what they are eating! When I make a smoothie and put some spinach in it, I tell them! They think it's cool to eat a smoothie with spinach in it! So when I told them that they were eating cottage cheese pancakes, they were a little hesitate at first, but after that first bite, they GOBBLED them down!!!

I even tried them and thought they were really good!


Beat 3 eggs


Blend in the cottage cheese


Add some vanilla


Then some honey or agave nectar


Whisk it all together...


Add some flour and baking powder (I didn't add the salt)


All mixed up!


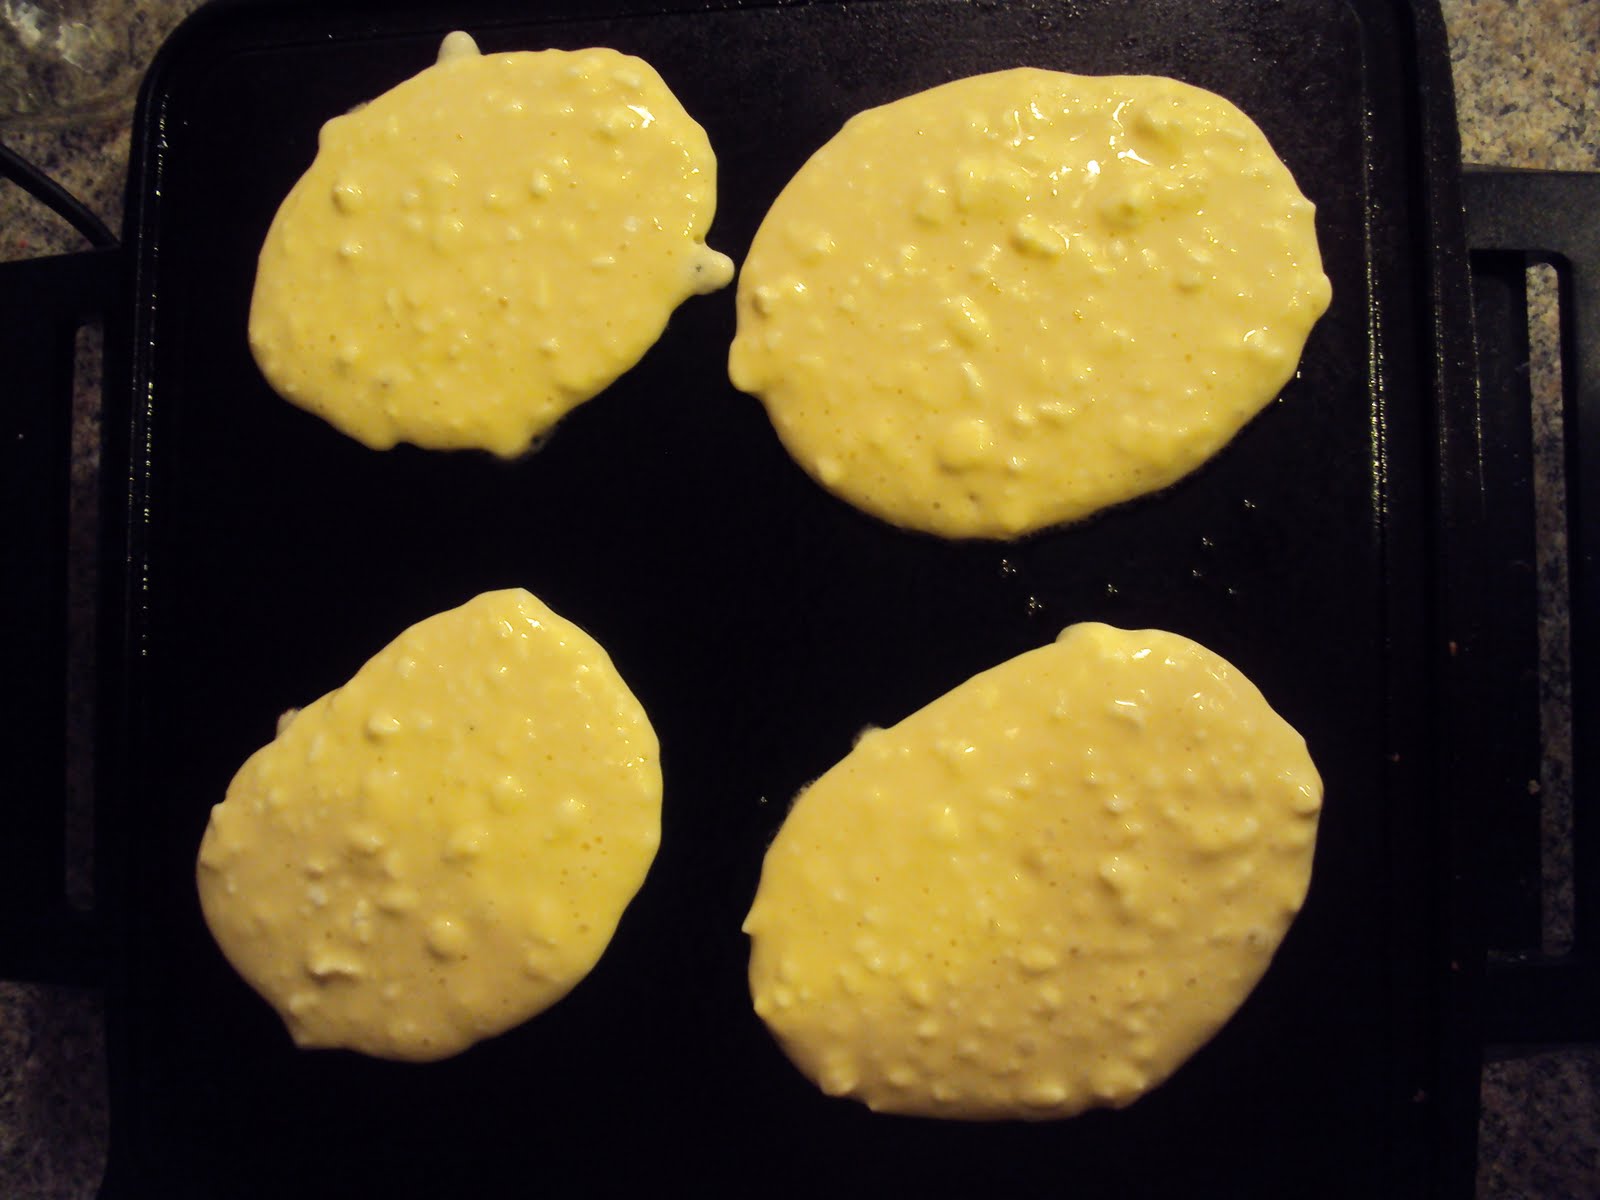
Grease a griddle or electric skillet... And using a 1/4 cup measuring cup, pour the batter onto the skillet/griddle


What they will look like! Sooooo good!!! :)


Cottage Cheese Pancakes

3 Eggs
1 Cup Cottage Cheese
1 Tsp Vanilla Extract
2 Tbsp Honey or Agave
1/2 Cup Flour
1 Tsp Baking Powder
1/4 Tsp Salt

1. Place the first 4 ingredients in a bowl and whisk.
2. In a separate bowl whisk the dry ingredients.
3. Pour the dry mixture into the wet mixture and stir until just combined.
4. Heat a large sauté pan or griddle over medium heat, lightly coat with oil or butter and pour mixture onto the griddle.
5. Cook for 2 minutes on each side or until pancakes are set and golden.
6. Serve.

*To Freeze: Let pancakes come to room temperature, place in a ziploc bag, label and freeze up to 3 months.