Monday, March 29, 2010

Chicken Rice Casserole


This is soooo much better when my mom made it! But I LOVE this! I just sometimes forget how long it takes, so by the time I am ready to get it all together, I realize that there isn't enough time for it cook! So, I usually say, oh well, next time, but this happens alot!

It is SUPER easy to make and it is oh soooo delicious!

It is made from ingredients that pretty much everyone always has on hand! Well, maybe not the chicken all the time! But like I've said before, I like to cook up all my chicken breasts and dice them and put them in little baggies. Then into the freezer for whenever I need cooked, cut up chicken! It works GREAT! May take a bit of work to cook it all and cut it, but it's worth it! :)


Place chicken in a pot


Add water to cover


Place slightly cool chicken on cutting board and cut up
(or if you have it cut up and frozen, make sure it is de-thawed)


Place 2 cans cream of chicken soup in bowl


Add broth or water


Whisk it all together


Add one HEAPING (as you can see) teaspoon of curry powder, salt and pepper
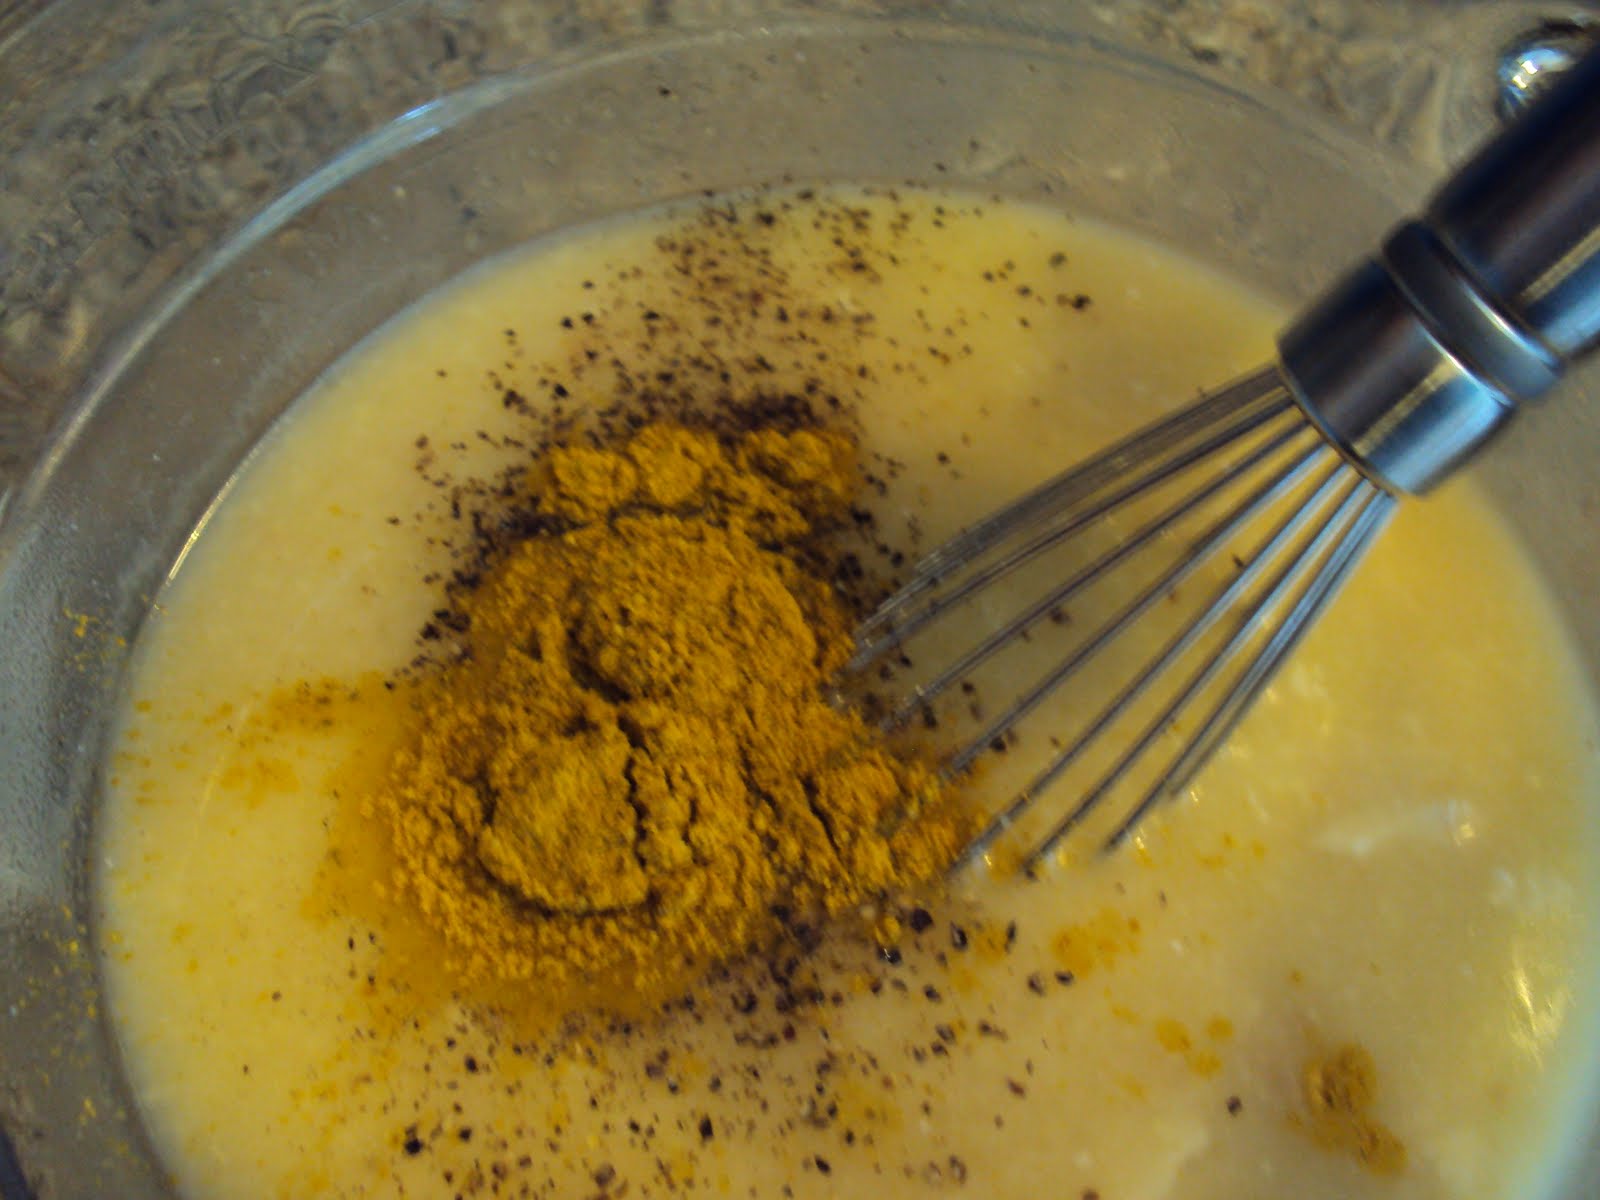


Whisk all together


All whisked up!


Add 1 cup rice


Add cut up cooked chicken and stir


All mixed up, ready to bake!


Greased 9x13 pan, all greased up...


In the pan....


Be sure to cover the pan with foil


What it looks like after an hour cooking...


All done, ready to eat! Make sure you stir it before serving!


Yummy!!! I like to serve this with a veggie and usually have bread and apple butter with it, but didn't have the bread part...


Chicken Rice Casserole

1/2 cup chopped onion (I just grab a medium size one and chop the whole thing, I don't measure!)
1/4 cup butter
1 cup finely chopped celery
2 cups cooked, cut up chicken
1 cup uncooked long grain-rice (not the minute kind either)
1 1/2 tsp salt
1/4 tsp pepper
1 tsp curry powder
2 cans cream of chicken soup
2 cans chicken broth (or water if you don't have the broth, which I don't most of the time, so I use water!)

Preheat oven to 350 degrees.
Saute the onions in the butter, but do not brown them!
Mix, celery, chicken, rice, salt, pepper, curry powder, chicken soup, and broth all together. Place in a greased 9 x 13 pan. Cover and bake for 2 hours. Check after the first hour and stir. Keep checking every 20 minutes until done. It may not take the full 2 hours, but sometimes it does!

*Like it shows in the pictures above, I usually mix the soups and water or broth using whisk first, then add spices, mix again. Then add the chicken and rice.
I don't always have celery, so I may do one can cream of chicken and one can cream of celery. Or just 2 cans cream of chicken and no celery! :)
I don't always saute the onions either.
I don't measure the salt and pepper, I just put some in!
Also, I use a heaping teaspoon of curry powder!
You can double this recipe and put the other half in the freezer for future use. You will just want to mix up a can of cream of chicken and half a can of water and re-bake it. Make sure it is completely thawed before doing this though.

Mom, hope you don't mind I posted this, I forgot to ask before posting! :) LOVE YOU

Saturday, March 27, 2010

Chicken!!!

So here's a tip, since I really haven't posted any yet! I am not doing as good of a job as I would like too, but my dear, sweet, adorable children have not really let me be in the computer for long periods of time! By the time they are asleep, I am ready to go to bed myself, or am doing all the things that didn't get done during the day!

But that's ok! Atleast I am getting SOME things on here! :)

Has anyone tried any of the recipes? Post comments, or let me know! I really would love the feed back!!! Good or bad, I can take it! :)

Okay, so chicken. I usually buy the big pack at BJ's of boneless, skinless chicken breasts.

They are nice there because they are "freezer-ready". BUT I don't usually just cook a whole chicken breast.

So I will put all the chicken in a big pot, cover with water, and bring to a boil. Some people bring the water to a boil first, then add the chicken, but I usually put to much water in, then it overflows and boils over. Not usually a pretty site!

So once your chicken has come to a boil, keep it boiling for 30-45 minutes. I turn my chicken every now and then, just to make sure it isn't sticking to the bottom of the pan. You don't need to stand there either and watch it, just make sure once it comes to a boil that it won't boil over and if it looks like it will, just turn it down a bit...

Oh, once you put your pot of chicken on the stove, make sure you pick up the bottom pieces of chicken, it likes to suction itself to the bottom of the pan, then it gets stuck, again, not a pretty stick, or fun thing to clean!

I take my tongs and pick a piece and kinda break it to see if it's done, depending on how many pieces you have, 30 minutes may be long enough, other times, you need it for the full 45 minutes.

Turn the burner off and let sit for 15-20 minutes.

Take a chicken breast out of the pan, place on a cutting board and cut in desired pieces.

I like to just put it in little sandwich baggies as I go along, I don't measure how much I put in. Most recipes call for a cup or 2, so you could put 1 cup in every baggie if you want. I just put in how much I would normally add to a chicken recipe.

Then I put all the sandwich baggies in a big gallon size and then place in freezer.

It's very easy to pull out a bag at a time! ;)


Place chicken breasts in pan


Place enough water in to cover the tops. You want to make sure there is enough water in there so the chicken will stay covered while boiling, but not too much where it will overflow once it starts to boil. This is where you will want to watch it to make sure it won't boil over, if it does, take a glass and get some water out. Once it starts to boil, you can just let it, as long as you know it won't boil over!


Place somewhat cooled chicken on cutting board


Cut up chicken ready to be placed in baggies!

By the way, I do the same thing with hamburger (Or if you use ground turkey, same thing), I brown it all, drain it, cool it, place in baggies. If I want meatballs, I'll make a double batch when I make them, place half in the oven to cook, or however I decide to cook them, then the others on a waxed paper covered cookie sheet, into the freezer, then once you know they will keep their shape and are half frozen, place in gallon size baggie, back into the freezer.

Monday, March 22, 2010

Horton Cake


(there is a piece of green missing that my little birthday girl decided to try! Oh well!!! LOL)

So friend told me about this contest going on... She told me I HAD to enter, so I did... Here's the link if you want to vote for me! :) I am not saying you HAVE to, but hey, whatever! :)
http://family.go.com/2010-cake-contest/animals_and_characters/horton-23874/

You have to enter some info, but it's free...
Thanks for voting!!! :)

Friday, March 19, 2010

Chicken B-B-Q!!!!!!!


This is THE best!!!!! I remember my Uncle coming down to help, well, basically cook the chicken for our church chicken b-b-q's! My mouth is watering just thinking about it and I just ate it last nite for dinner!!! :)


Here is my Uncle cooking the chicken behind the church!

Now, I can't make this as good as my Uncle did, or when my parents took over the last few years, but I must say, it turned out pretty good! :)

My Uncle would take a spray bottle and spray the chicken. I didn't have a spray bottle, so I took the sauce by the spoonfulls and dumped it over the chicken as it cooked. It still turned out, but I am going to be getting me a spray bottle for next time! :)


Melt the butter...


Add the worchestershire sauce with all the other ingredients...


Here it all is mixed up!


Slap the chicken on the grill (you can use any kind of chicken, I just used chicken legs with the skin on)


Chicken half way done!!! I SOOOO wish I had a scratch and sniff going on here! Oh my goodness, does it ever smell SUPER good, and did I mention it is SUPER easy to make!


Look at this piece of chicken! Oh my, can we say YUMMY?!?!?!?


On the plate ready to go in and ready to eat!!!


My dad and Uncle Eli would've been proud of this chicken! Not to be bragging, but it was pretty good! Now when I asked my Aunt if she cared if I posted this, I told her that it wasn't as good as theirs, but ya know what, it's ok! It was still finger-lickin' good!

My kids are SUPER thrilled whenever we eat "dead-chicken"! I fixed a whole chicken on time a few months back and my little guy asked what kind of chicken it was, so I said it was dead chicken. So, every time we have any type of chicken other than the typical boneless, skinless kind, it's dead chicken! Gotta love the things my kids say! :)


Even my littlest LOVED it and was REACHING for more!!! :) That boy loves his meat! :)


CHICKEN BARBECUE SAUCE

1/2 cup water
1 cup vinegar
1 stick butter
1/8 cup Worcestershire sauce
1/2 tablespoon sugar
1 tablespoon salt (I think I put in about 1 to 2 teaspoons)
Dash of pepper

Mix all these ingredients up and keep warm while chicken is cooking. Keep spraying the chicken as it cooks!

*This is actually 1/4 of the recipe they used for the b-b-q's. So if you are cooking more, just double it.
I also added a bit of hot sauce, not enough to make it super hot, but just add a bit of extra flavor.
ENJOY!!!

Wednesday, March 17, 2010

Tuna Roll-Ups

Our Wednesdays can be kinda crazy! Because we have Karate and need to head over to church RIGHT after Karate. I also need to make a "picnic" supper for us as well.. Not just the normal pb and j either, something that is good and will fill my little guy up after Karate. Would like it to be somewhat healthy too! Don't really have time to stop and grab something from a restaurant, or go home and grab something either...

Tonite I grabbed a can of tuna and added a few other things to it as well.

The kids really liked this and gobbled it down! Now those of you that know me, know I am NOT a fish fan, but I can do this type of thing every now and then. Not too often though!


Tuna and shredded cheese in bowl...


A bit of ranch salad dressing...


A bit of dill relish (you can use any kind of relish or cut up pickles, but we like dill relish here and didn't have time to cut up little pickles!)


Chopped up black olives (I've been buying cans of whole olives instead of the chopped. It is sooo much cheaper that way...)


Add a bit of mayo...


Stir it all up...


Add a spoonful to a flour tortilla (you can use wheat if you want...)


All rolled up and ready to eat!!!


The recipe that I made, I made 5 tortillas. Add more tuna if you want more. I didn't fill it to full either for the kiddos. I could just see it squirting it out the end, not fun!!! :) These would be easy to make for your kids lunch... Make them up the nite before and wrap them in saran wrap. All you have to do it throw it in the lunch box with an apple and you're good to go!


Tuna Roll Ups

1 can tuna, drained
Handful of shredded cheddar cheese
Ranch dressing
Mayo
Black Olives
Dill relish

Drain the can of tuna and place in bowl, add the cheese, a bit of ranch dressing, a tad of the mayo, as many black olives as you want, just a bit of relish, mix it all together. Add more dressing or mayo if it is a bit dry. But only add a little bit at a time, you don't want it to be to "wet".
Place a spoonful on a tortilla, roll up and enjoy!
You can either wrap them in plastic wrap and put in frig and will be ready to eat when ready! You can also pop it in the microwave for about 30 seconds so it will be a warm tuna roll up! Either way is good!